OAuth 2.0 - Tutorial 3 - Expose and Access a Web API - Resource Server
Previous tutorials
In the previous tutorials:
- OAuth 2.0 - Tutorial 1 - Localhost Python WebApp Auth Code Flow with Entra ID
- OAuth 2.0 - Tutorial 2 - Azure Server Side Python WebApp Auth Code Flow - Entra ID
We learned:
- How to create a “server-side” Python Web App
- How to deploy this app to Azure
- How to register the app with Entra ID
- How to use the Authorization Code Flow to access the Microsoft Graph API.
Overview
In this tutorial:
- We will learn how to build our own Web API (Resource Server),
- which can be accessed from our previously created Python Web App.
- The Web API (Resource Server) will have two different scopes (
data.readanddata.write) and will validate the token it receives. - We will run both apps locally: the Flask WebApp as the client and the FastAPI Web API as the resource server.
Within the OAuth flow, we focus on the Web API component:
The following image illustrates the Authorization Code Flow with the corresponding OAuth roles, based on section 4.1 of the OAuth 2.0 specification: RFC6749, now including an additional Resource Server (our FastAPI backend API):

Note: The lines illustrating steps (A), (B), and (C) are broken into two parts as they pass through the user-agent.
What we need:
- An additional App Registration for the Web API (Resource Server) app, which will expose the API
- Python FastAPI code for our Web API (run locally)
- An updated Python Flask Web App (with links to our Web API)
- Permissions for the Python Flask app registration to access the Web API
The following quickstart guide from Microsoft Docs can also be used as a reference.
Prerequisites
- Tutorial 1 and optional 2 finished
- Microsoft Azure Tenant
- UV installed: UV Installation
Register an application for your Web API
This time, let’s start by registering your app in Entra ID:
Prepare FastAPI Web API Code
Now we will create a simple Web API with two endpoints and two scopes: one for “reading data” and one for “writing data”.
Open a console window, create and navigate to your FastAPI app folder:
cd fastapi_app
Create a new UV project and install the necessary dependencies:
uv init
uv add fastapi uvicorn[standard] pydantic pwdlib[argon2] python-multipart python-jose
# Activate the virtual environment with those dependencies installed:
source .venv/bin/activate
Then, add the following code to main.py:
# Type hints and annotation support
from typing import Annotated

# FastAPI and related imports
from fastapi import Depends, FastAPI, HTTPException, Security, status
from fastapi.security import OAuth2AuthorizationCodeBearer, SecurityScopes
# JWT decoding
from jose import jwt
# Data validation
from pydantic import BaseModel


# Entra ID config
TENANT_ID = "<ADD-YOUR-ENTRA-ID-TENANT-ID>" #TODO
OPENID_CONFIG_URL = f"https://login.microsoftonline.com/{TENANT_ID}/v2.0/.well-known/openid-configuration"
API_AUDIENCE = "<ADD-YOUR-API-AUDIENCE>" # First Expose Web API to get your API Audience #TODO
ALGORITHM = "RS256"


import requests

# Fetch JWKS URL from OpenID configuration at startup
# This gets the public keys used to verify JWTs
resp = requests.get(OPENID_CONFIG_URL)
resp.raise_for_status()
JWKS_URL = resp.json()["jwks_uri"]

# Get the JSON Web Key Set (JWKS) from Entra ID
def get_jwks():
    resp = requests.get(JWKS_URL)
    resp.raise_for_status()
    return resp.json()["keys"]

# Find the public key in JWKS that matches the JWT's key ID (kid)
def get_public_key(token):
    jwks = get_jwks()
    unverified_header = jwt.get_unverified_header(token)
    for key in jwks:
        if key["kid"] == unverified_header["kid"]:
            return key
    raise Exception("Public key not found.")

# Pydantic model for token data
class TokenData(BaseModel):
    username: str | None = None  # Username from token (not used currently)
    scopes: list[str] = []  # List of scopes from token

# OAuth2 scheme for FastAPI security
oauth2_scheme = OAuth2AuthorizationCodeBearer(
    authorizationUrl=f"https://login.microsoftonline.com/{TENANT_ID}/oauth2/v2.0/authorize",  # Entra ID auth URL
    tokenUrl=f"https://login.microsoftonline.com/{TENANT_ID}/oauth2/v2.0/token",  # Entra ID token URL
    scopes={
        "data.read": "Read protected data.",
        "data.write": "Write protected data.",
    },
)

# Create FastAPI app
app = FastAPI()

# Dependency to get the current user from the JWT token
# Checks for required scopes and validates the token
async def get_current_user(
    security_scopes: SecurityScopes, token: Annotated[str, Depends(oauth2_scheme)]
):
    # Build the authenticate header value for WWW-Authenticate
    if security_scopes.scopes:
        authenticate_value = f'Bearer scope="{security_scopes.scope_str}"'
    else:
        authenticate_value = "Bearer"
    # Exception to raise if authentication fails (invalid, missing, or expired token)
    # This is required for proper OAuth2 error signaling, regardless of grant type.
    credentials_exception = HTTPException(
        status_code=status.HTTP_401_UNAUTHORIZED,
        detail="Could not validate credentials",
        headers={"WWW-Authenticate": authenticate_value},
    )
    try:
        # Get public key and decode JWT
        public_key = get_public_key(token)
        payload = jwt.decode(
            token,
            public_key,
            algorithms=[ALGORITHM],
            audience=API_AUDIENCE,
            options={"verify_exp": True, "verify_aud": True},
        )
        # Extract scopes from token payload
        scope: str = payload.get("scp", "") or payload.get("scope", "")
        token_scopes = scope.split(" ")
        token_data = TokenData(scopes=token_scopes)
    except Exception:
        # Token is invalid or cannot be decoded
        raise credentials_exception
    # Check if all required scopes are present in the token
    for scope in security_scopes.scopes:
        if scope not in token_data.scopes:
            raise HTTPException(
                status_code=status.HTTP_401_UNAUTHORIZED,
                detail="Not enough permissions",
                headers={"WWW-Authenticate": authenticate_value},
            )
    return token_data


# Protected endpoint: requires 'data.read' scope
@app.get("/data/read")
async def read_data(
    current_user: Annotated[
        TokenData, Security(get_current_user, scopes=["data.read"])
    ],
):
    """Return protected data if user has 'data.read' scope."""
    return {
        "data": "This is protected data you can read.",
        "current-user-scopes": current_user.scopes,
    }

# Protected endpoint: requires 'data.write' scope
@app.post("/data/write")
async def write_data(
    current_user: Annotated[
        TokenData, Security(get_current_user, scopes=["data.write"])
    ],
):
    """Allow writing protected data if user has 'data.write' scope."""
    return {"result": "You wrote protected data!", "current-user-scopes": current_user.scopes}
The OAuth implementation is based on the following FastAPI documentation: https://fastapi.tiangolo.com/advanced/security/oauth2-scopes/?h=scopes
Instead of using OAuth2PasswordBearer for a simple username/password flow, we use OAuth2AuthorizationCodeBearer to enable the Authorization Code Flow.
You must replace the placeholder values marked with #TODO with your own configuration.
Expose the API
Add a Scope to Your API
To expose your API, you need to define scopes in your app registration.
Now we have the backend FastAPI code ready, the Web API registered as an app, and the Web API exposed. Next, let’s update the Flask Web App code to add links that will call the backend API and use the new scopes.
Update Python Web App Flask code
Update the Flask Web App code from the previous tutorials. (Additionally, install Flask-Session to store session data in server-side storage.)
from flask import Flask, session, redirect, request, url_for
from flask_session import Session
from dotenv import load_dotenv
import msal
import uuid
import os
import requests

app = Flask(__name__)
app.secret_key = os.urandom(24)  # Needed for session
# Configure Flask-Session to use filesystem (server-side session)
app.config["SESSION_TYPE"] = "filesystem"
app.config["SESSION_PERMANENT"] = False
app.config["SESSION_USE_SIGNER"] = True
Session(app)
# Specify the path to the .env file
dotenv_path = ".env"  # Update this with the actual path

# Load the .env file
load_dotenv(dotenv_path=dotenv_path)

# Config
config = {
    "client_id": os.getenv("CLIENT_ID"),
    "authority": f"https://login.microsoftonline.com/{os.getenv('TENANT_ID')}",
    # Add FastAPI API scopes for read and write
    "scope": [
        "User.Read",
        #TODO - replace with your api scopes
        "api://c750c37c-6c67-4211-a9e2-6f035a897cfa/data.read",
        "api://c750c37c-6c67-4211-a9e2-6f035a897cfa/data.write",
    ],
    "redirect_uri": os.getenv("REDIRECT_URI"),
    "client_secret": os.getenv("CLIENT_SECRET"),
}


def build_msal_app():
    return msal.ConfidentialClientApplication(
        client_id=config["client_id"],
        authority=config["authority"],
        client_credential=config["client_secret"],
    )

# On the index page, add simple links to our backend FastAPI endpoints
@app.route("/")
def index():
    if "user" in session:
        user = session["user"]
        return f"""
        <h2>Welcome {user['displayName']}</h2>
        <p>Email: {user.get('mail') or user.get('userPrincipalName')}</p>
    <a href="/logout">Logout</a><br>
    <a href="/api/read">Read Protected Data (FastAPI)</a><br>
    <a href="/api/write">Write Protected Data (FastAPI)</a>
        """
    return '<a href="/login">Login with Microsoft</a>'

@app.route("/api/read")
def api_read():
    api_access_token = session.get("api_access_token")
    if not api_access_token:
        return redirect(url_for("login"))
    # Call the FastAPI backend read endpoint
    api_url = "http://localhost:8000/data/read"
    resp = requests.get(api_url, headers={"Authorization": f"Bearer {api_access_token}"})
    if resp.ok:
        return f"<pre>{resp.json()}</pre><a href='/'>Back</a>"
    return f"Error calling API: {resp.status_code} {resp.text} <a href='/'>Back</a>", 500


@app.route("/api/write", methods=["GET", "POST"])
def api_write():
    api_access_token = session.get("api_access_token")
    if not api_access_token:
        return redirect(url_for("login"))
    # Call the FastAPI backend write endpoint
    api_url = "http://localhost:8000/data/write"
    resp = requests.post(api_url, headers={"Authorization": f"Bearer {api_access_token}"})
    if resp.ok:
        return f"<pre>{resp.json()}</pre><a href='/'>Back</a>"
    return f"Error calling API: {resp.status_code} {resp.text} <a href='/'>Back</a>", 500


@app.route("/login")
def login():
    msal_app = build_msal_app()
    flow = msal_app.initiate_auth_code_flow(
        scopes=config["scope"],
        redirect_uri=config["redirect_uri"],
        state=str(uuid.uuid4()),
    )
    session["auth_flow"] = flow
    return redirect(flow["auth_uri"])


@app.route("/callback")
def callback():
    msal_app = build_msal_app()
    try:
        result = msal_app.acquire_token_by_auth_code_flow(
            session.get("auth_flow", {}), request.args
        )
    except ValueError:
        return "Authentication failed", 400

    if "access_token" in result:
        session["access_token"] = result["access_token"]  # This is likely a Graph token

        # Call Microsoft Graph to get user info
        graph_resp = requests.get(
            "https://graph.microsoft.com/v1.0/me",
            headers={"Authorization": f"Bearer {result['access_token']}"},
        )
        if graph_resp.ok:
            session["user"] = graph_resp.json()
        else:
            return f"Graph API error: {graph_resp.text}", 500

        # Now acquire a token for the FastAPI API (audience = API)
        account = msal_app.get_accounts()[0] if msal_app.get_accounts() else None
        api_scopes = [
            #TODO - replace with your api scopes
            "api://c750c37c-6c67-4211-a9e2-6f035a897cfa/data.read",
            "api://c750c37c-6c67-4211-a9e2-6f035a897cfa/data.write",
        ]
        api_token_result = msal_app.acquire_token_silent(api_scopes, account=account)
        if not api_token_result:
            # If silent fails, use refresh token if available
            api_token_result = msal_app.acquire_token_by_authorization_code(
                request.args.get("code"),
                scopes=api_scopes,
                redirect_uri=config["redirect_uri"],
            )
        if "access_token" in api_token_result:
            session["api_access_token"] = api_token_result["access_token"]
        else:
            return f"API token error: {api_token_result.get('error_description')}", 400

        return redirect(url_for("index"))

    return f"Error: {result.get('error_description')}", 400


@app.route("/logout")
def logout():
    session.clear()
    return redirect(url_for("index"))


if __name__ == "__main__":
    app.run(host="0.0.0.0", port=5001, debug=True)
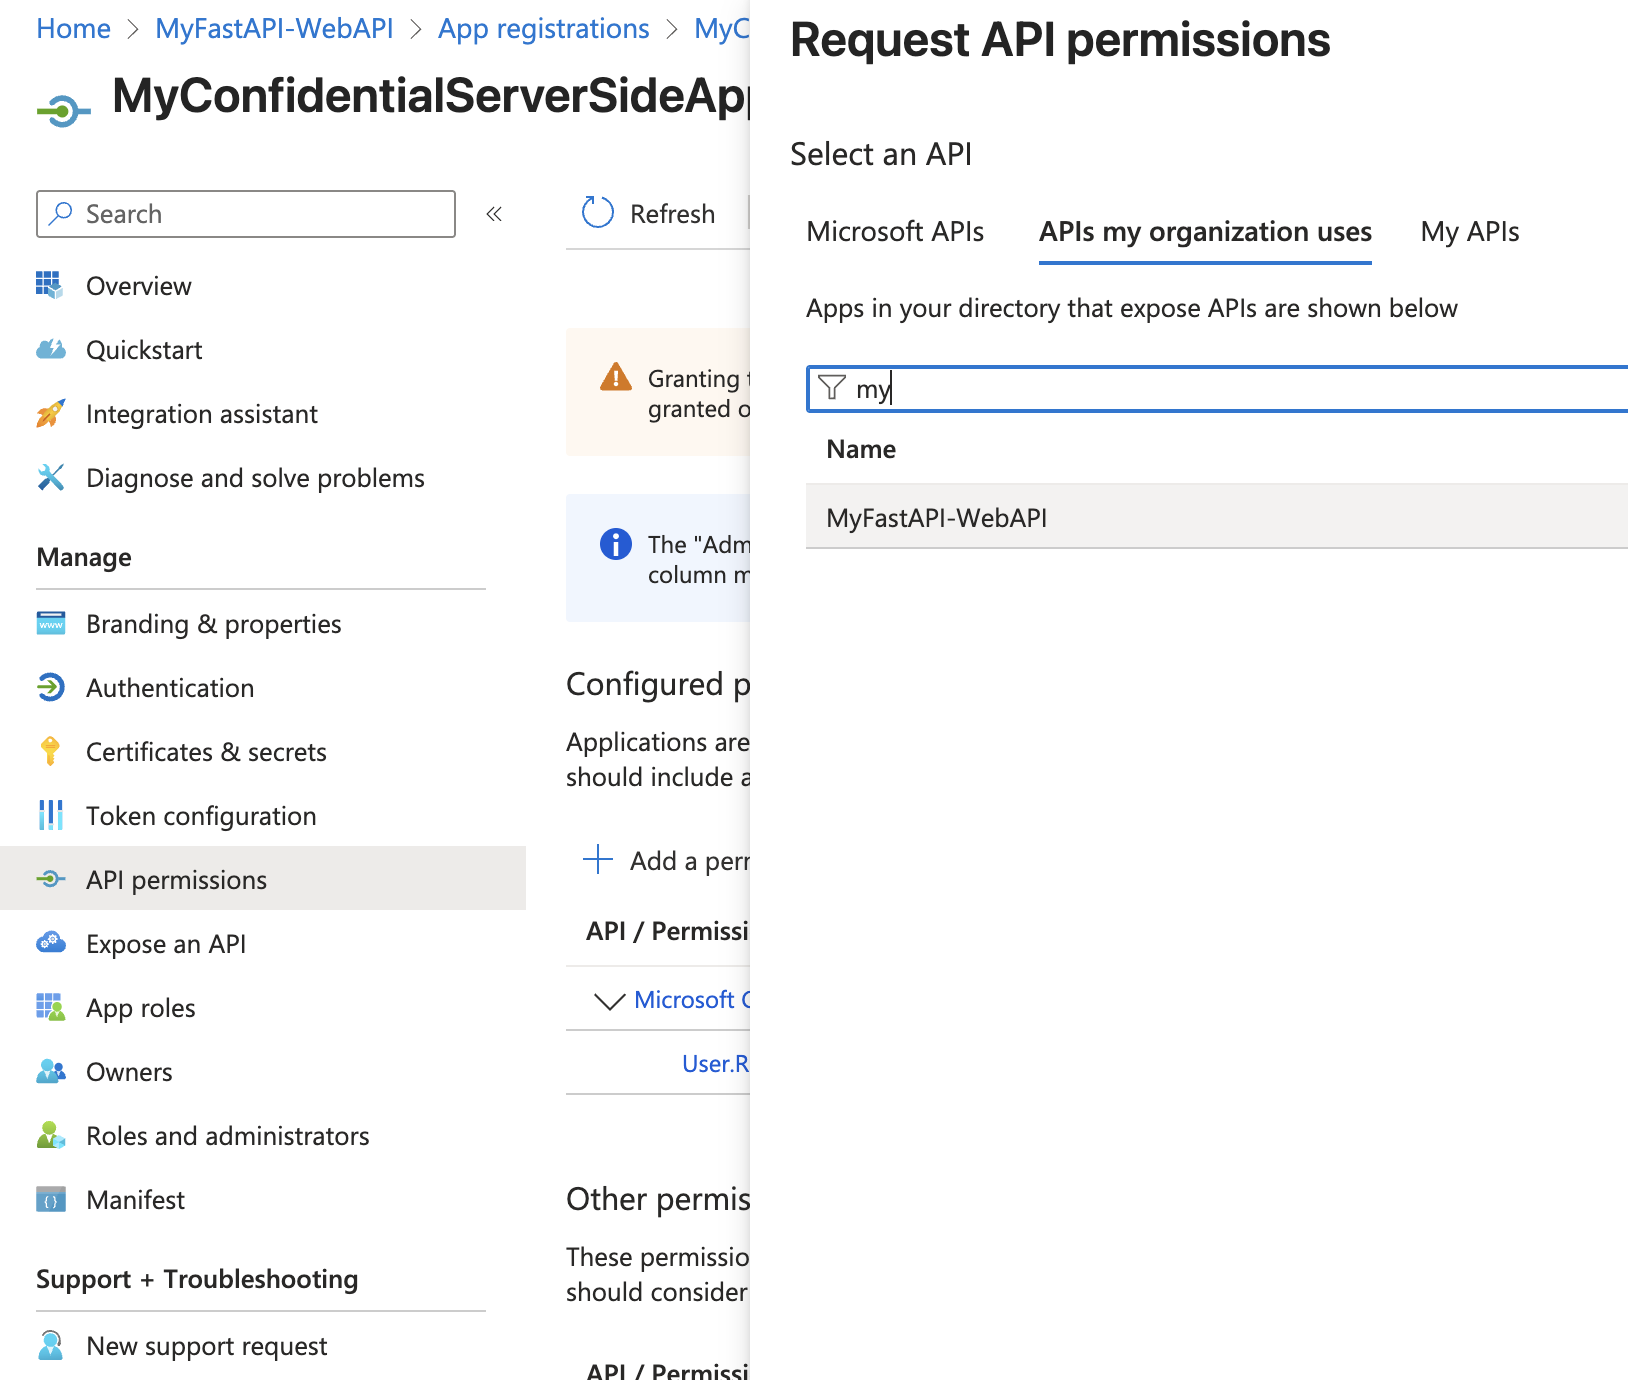
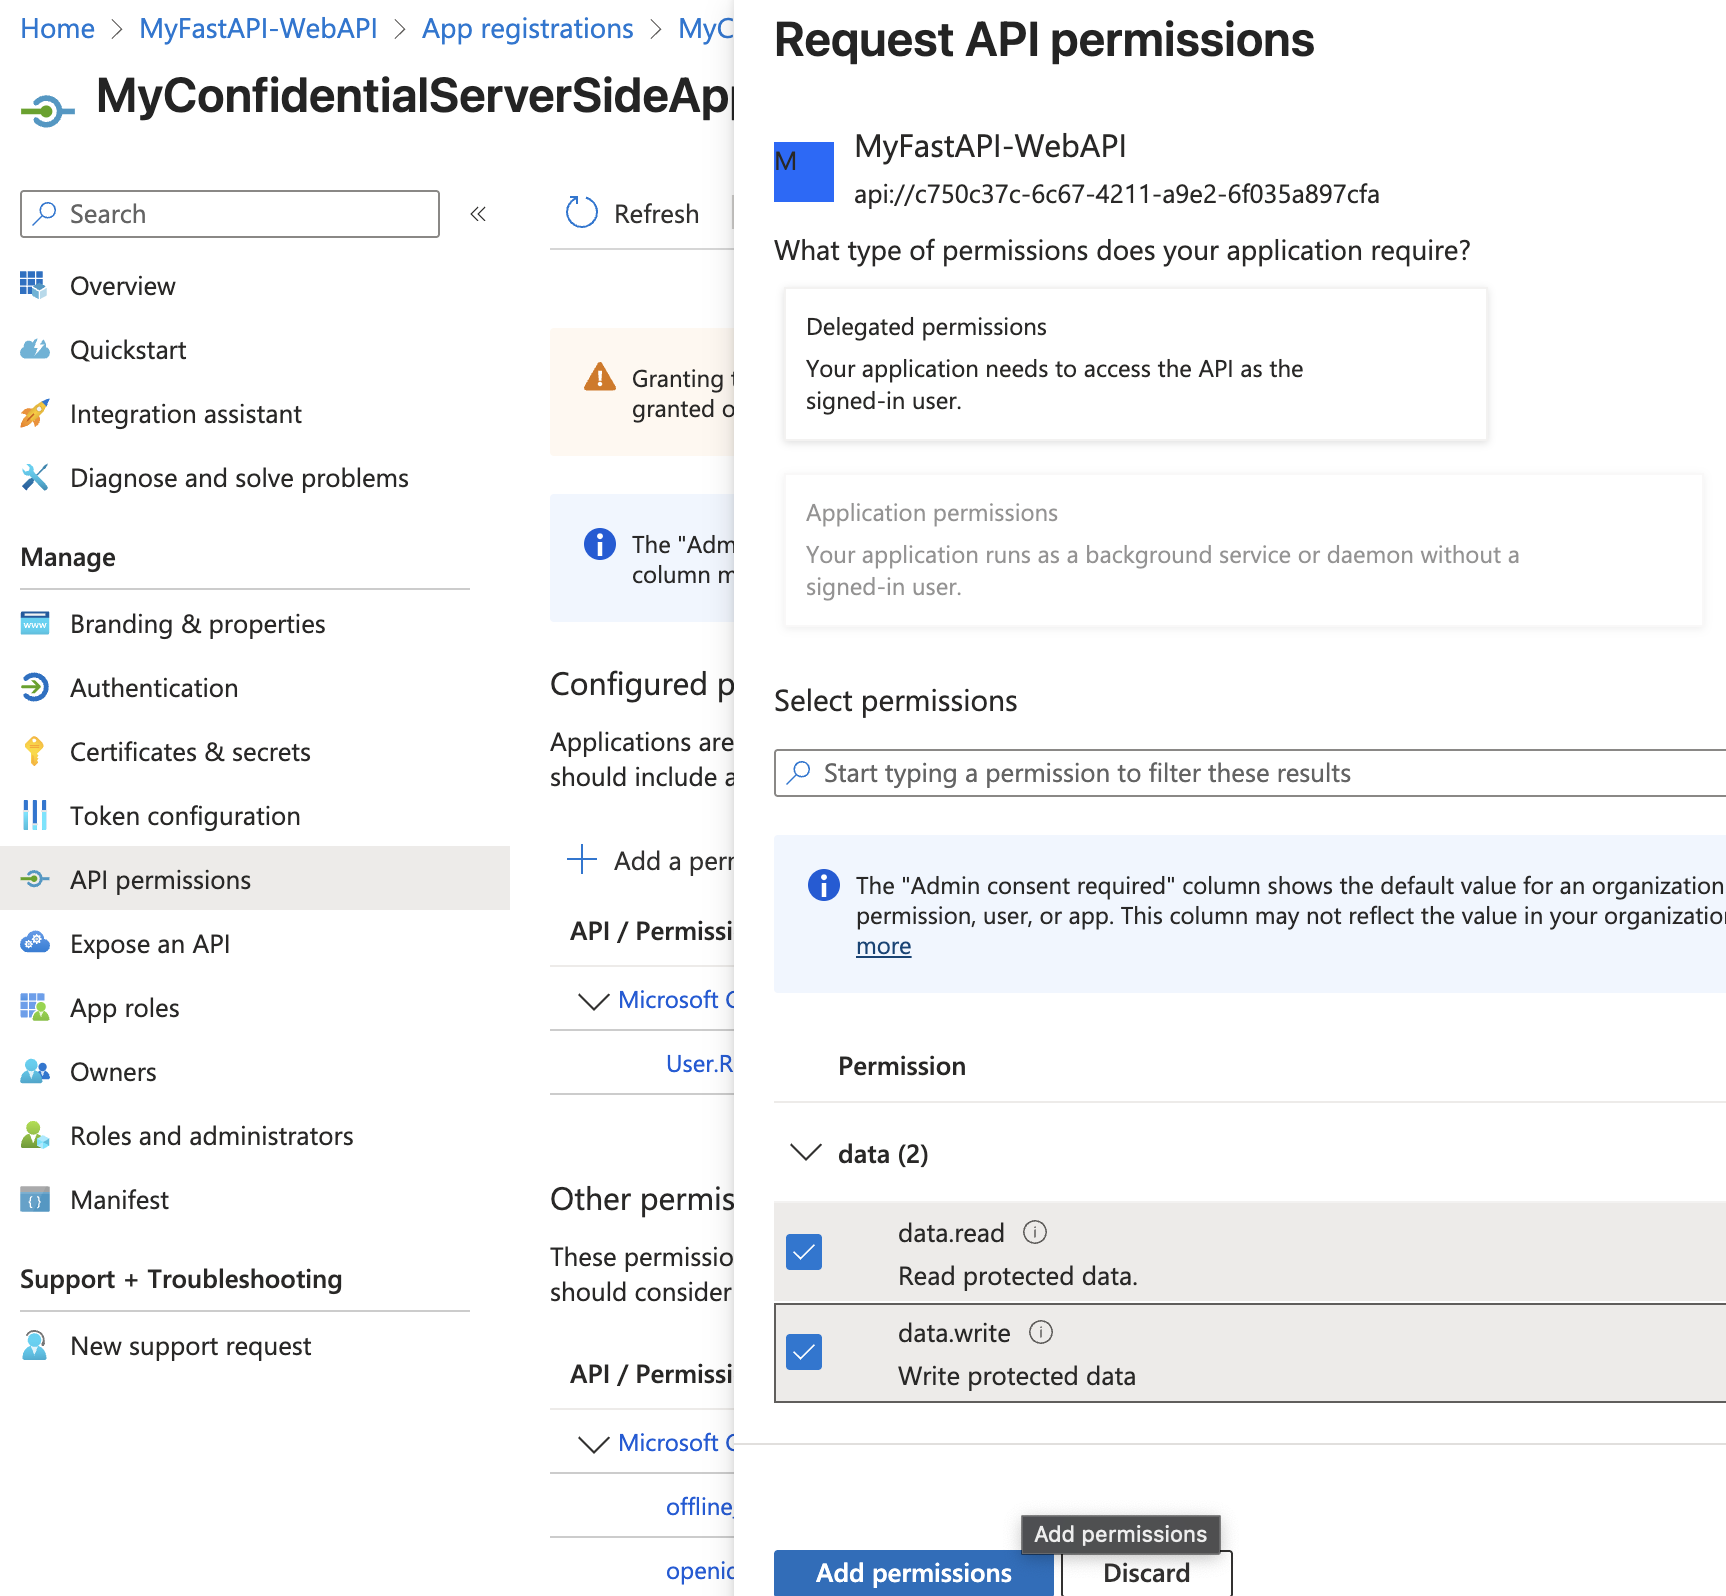
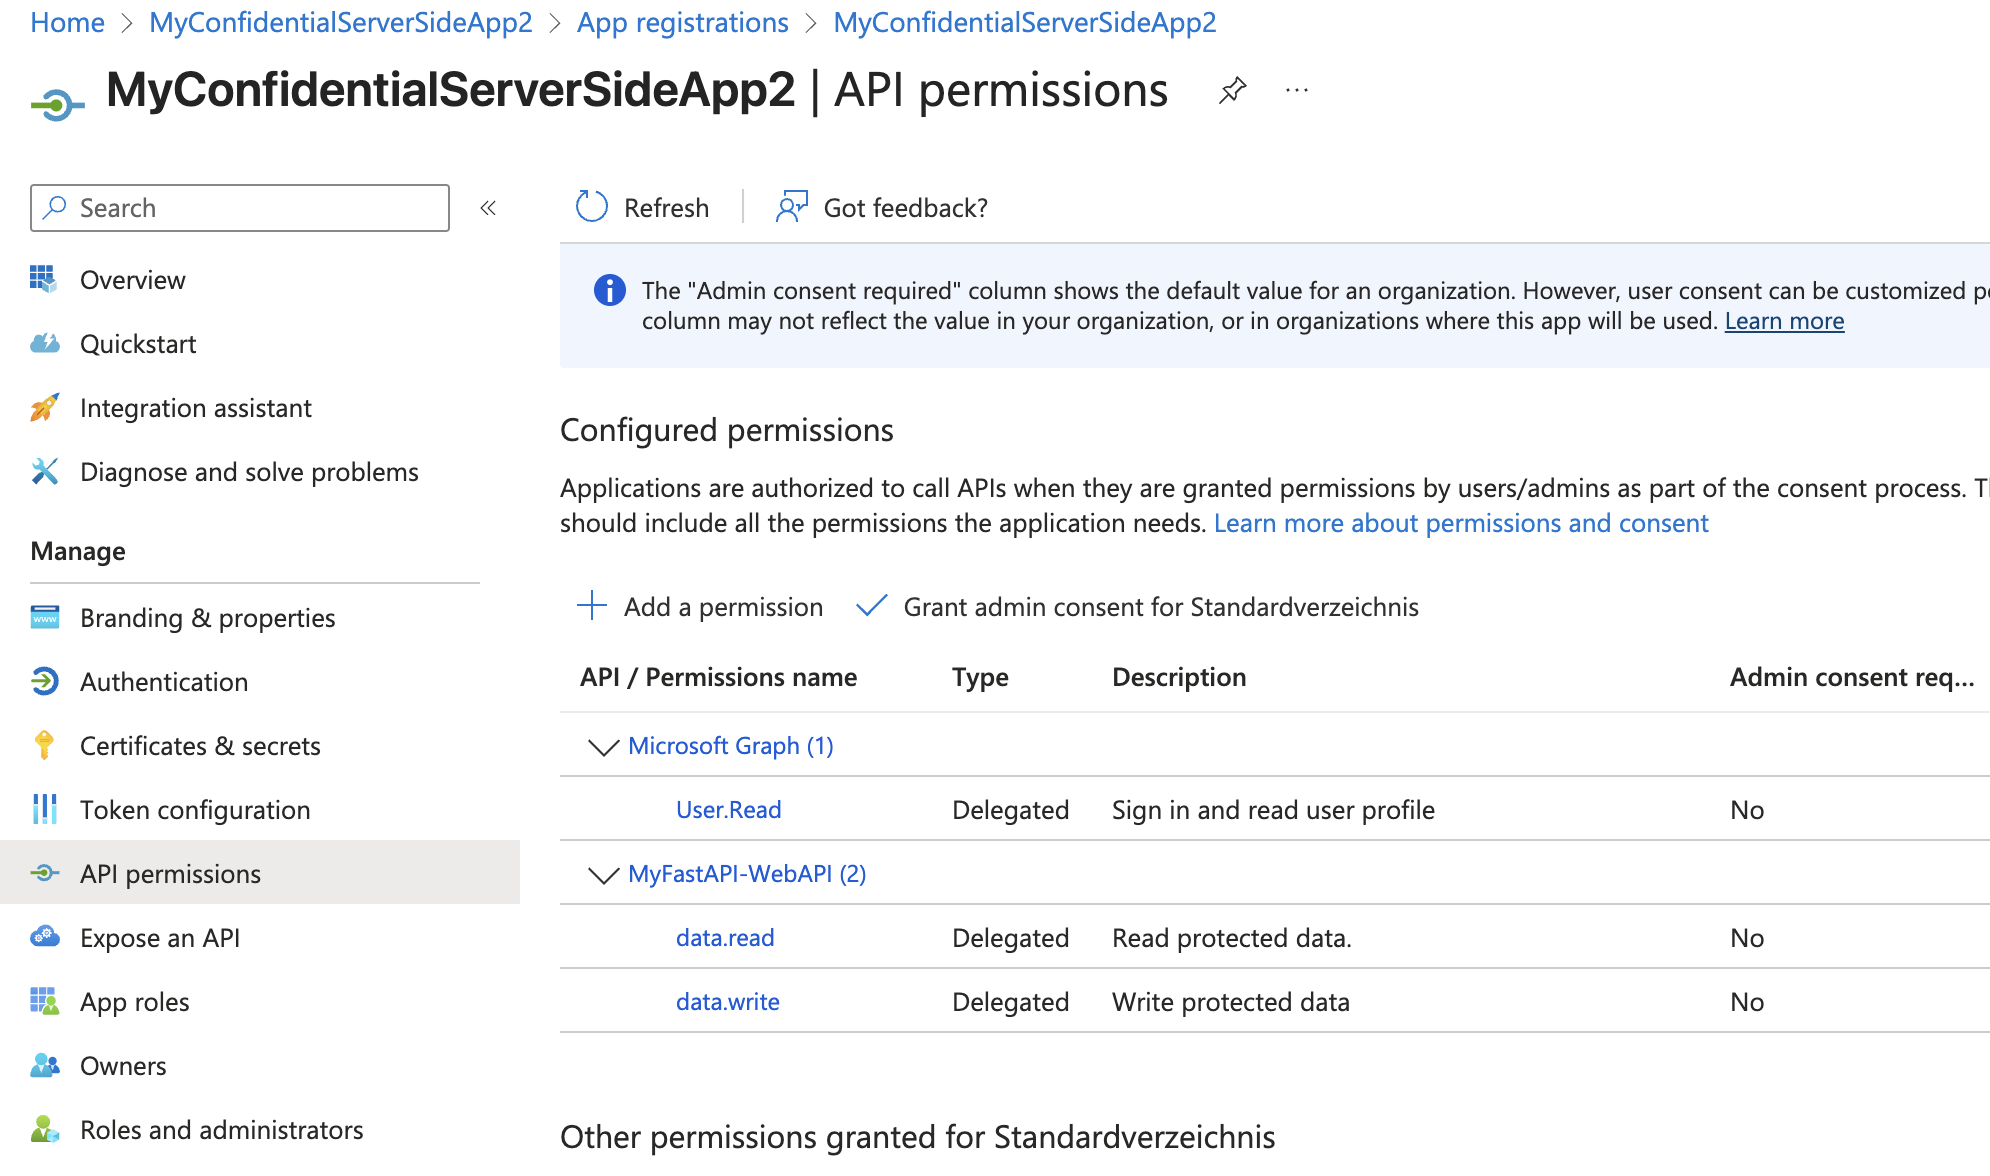
Add permissions to Web App
In Entra ID, ensure your Flask app registration has permissions to request those scopes (as “delegated permissions” to your API).
Start FastAPI and Flask App locally
Start your FastAPI Web API app locally:
uvicorn main:app --host=0.0.0.0 --port=8000
Then start your Flask App locally:
flask --app main.py run --host=0.0.0.0 --port=5001
Then log in: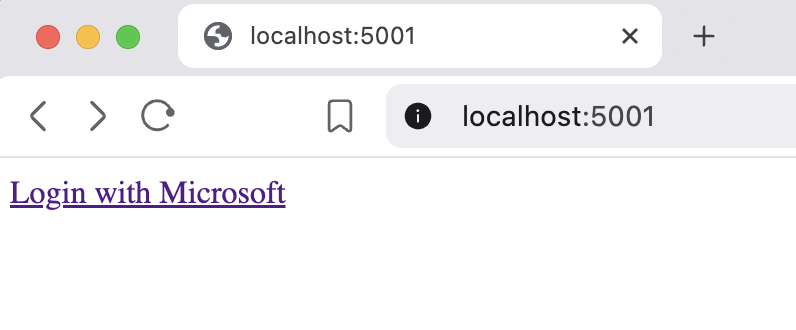
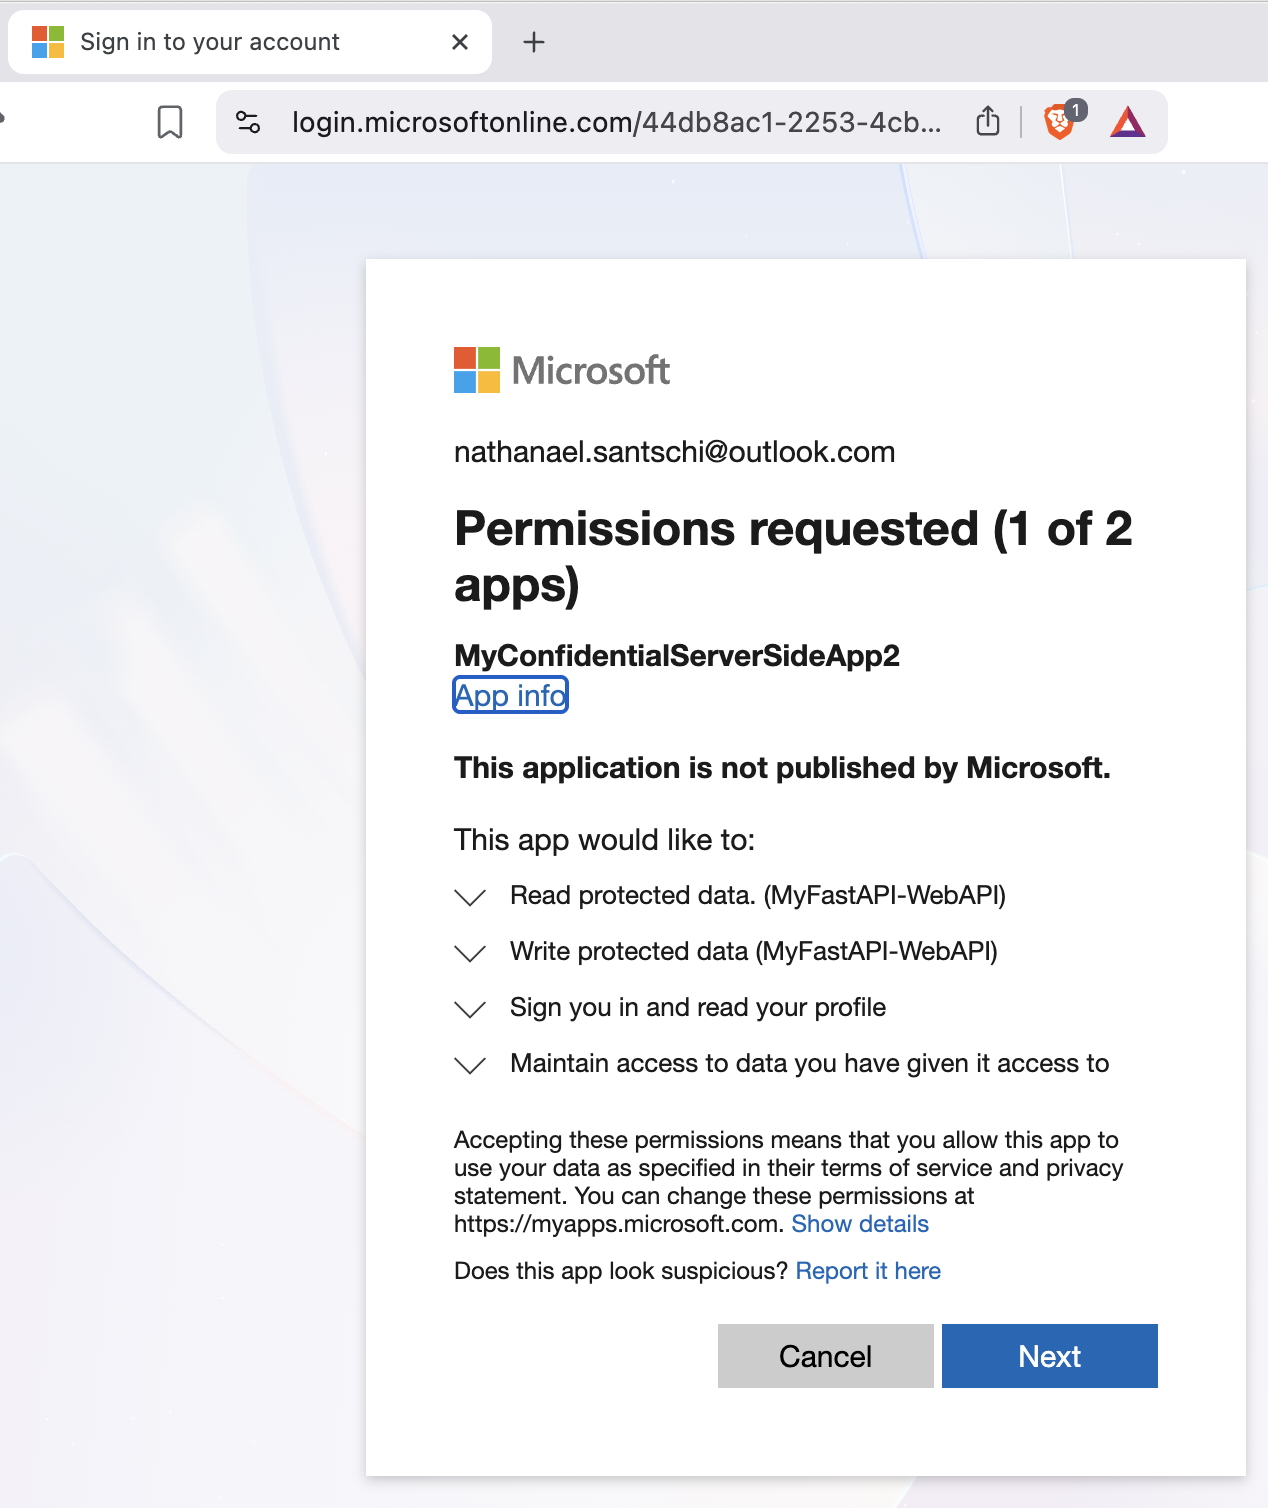
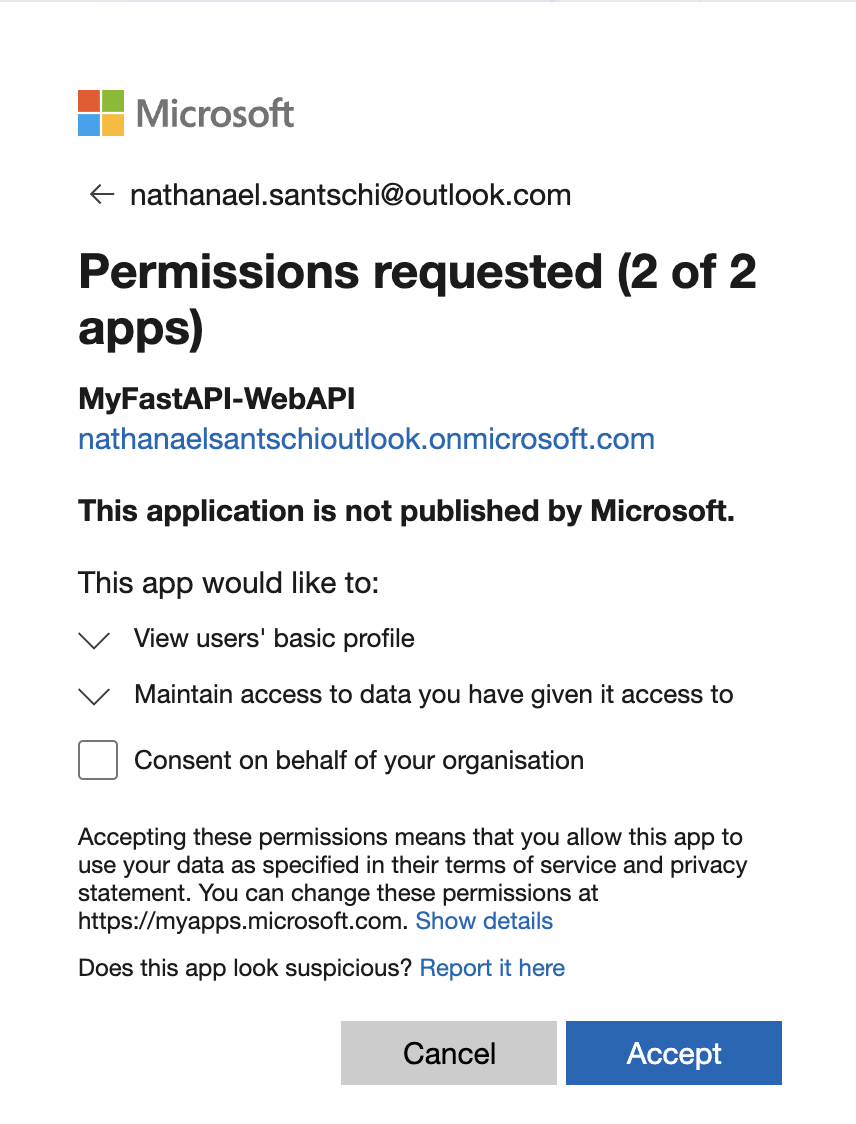
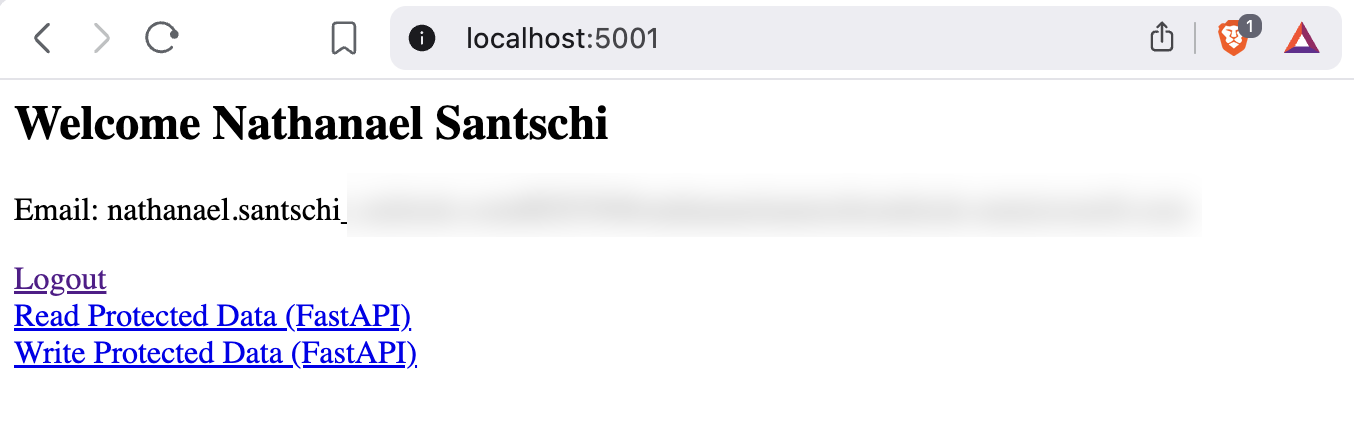
After clicking on the “Read Protected Data (FastAPI)” link, the following page opens, showing the data you can read and the scopes assigned to the current user:
That’s it for now.