(1/2) Setting up Azure workload identity federation with Terraform in Azure DevOps pipelines (2 Part Series)
I was curious about how to set up Azure DevOps to utilize Terraform for deploying Azure resources with workload identity federation instead of relying on a service principal with secrets. In this blog post, I will demonstrate how I set up this configuration.
To learn more about workload identity federation read the docs:
Workload identity federation - Microsoft Entra | Microsoft Learn
Prerequisites
- Azure DevOps Org
- “Customer Azure Tenant” with Subscription
- “Backend Azure Tenant” with Subscription (can be in the same tenant - in our example we use different tenants)
- Azure Powershell Module
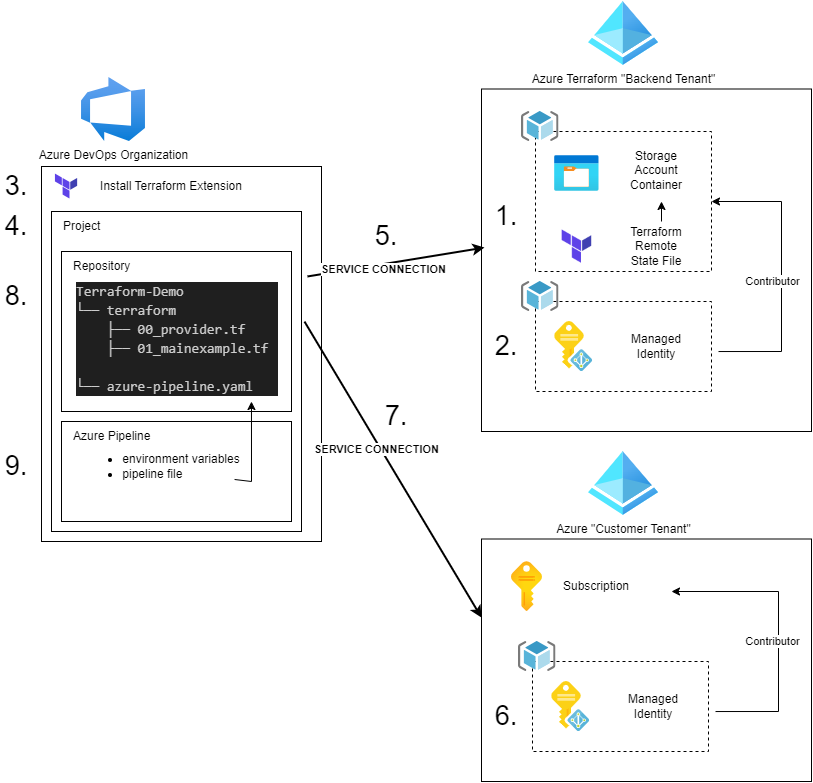
Overview - Setup Steps
- Create a storage account that will store the Terraform state file
- Create a managed identity which has contributor permissions on this storage account
- If not already the case, install the Terraform extension for your Azure DevOps Org
- Create a new Azure DevOps Project
- Create a service connection to the “backend tenant” using workload identity federation with your previously created managed identity
- Create a managed identity in the customer tenant where you finally want to deploy Azure Resources using Terraform, with Contributor permission on the Subscription
- Create a service connection to the customer tenant using workload identity federation with your previously created managed identity
- Create a repository with basic Terraform files
- Create an Azure DevOps Pipeline
Prepare “Backend Tenant” to store Terraform State File
As outlined in this example, I intend to store the Terraform state file in a different Azure Tenant than where the actual Azure Deployment will occur.
1. Create a Storage Account with Powershell
Run the following script in the Backend Tenant.
This will create:
- ResourceGroup
- StorageAccount
- Container
Our terraform state file will later be stored in this container.
# Connect with the "Backend tenant"
connect-azaccount

# Define variables
$subscriptionName = "SUB-TerraformBackend"
$resourceGroupName = "rg-terraform-backend-demo"
$location = "switzerlandnorth"
$storageAccountName = "tfdemo23092314462014"
$containerName = "terraform01"

# Set Azure Subscription
Set-AzContext -SubscriptionName $subscriptionName

# Create resource group
New-AzResourceGroup -Name $resourceGroupName -Location $location

# Create storage account
New-AzStorageAccount -ResourceGroupName $resourceGroupName -Name $storageAccountName -Location $location -SkuName Standard_LRS -Kind StorageV2

# Create blob container
New-AzStorageContainer -Name $containerName -Context (Get-AzStorageAccount -ResourceGroupName $resourceGroupName -Name $storageAccountName).Context
2. Create a managed identity to enable access to the state file from the pipeline via workload identity federation
Official MS docs:
Manually configure Azure Resource Manager workload identity service connections - Azure Pipelines | Microsoft Learn
Create the managed identity using Powershell and grant the required permissions:
# Connect with the "Backend tenant"
connect-azaccount

# Define variables
$subscriptionName = "SUB-TerraformBackend"
$resourceGroupName = "rg-terraform-backend-demo-identity"
$location = "switzerlandnorth"
$UserAssignedIDName = "IDtfdemo2309231446"
$credentialName = "azdevops-backend"
# Managed Identity will be granted Contributor Role to this RSG
$TFBackendRSGname = "rg-terraform-backend-demo"

# Set Azure Subscription
Set-AzContext -SubscriptionName $subscriptionName

# Create resource group
New-AzResourceGroup -Name $resourceGroupName -Location $location

# Create User assigned identity
$NewIdentity = New-AzUserAssignedIdentity -ResourceGroupName $resourceGroupName -Location $location -Name $UserAssignedIDName

# create federated credential
# Note: the Issuer + SubjectIdentifier will be changed later!
New-AzFederatedIdentityCredentials -ResourceGroupName $resourceGroupName -IdentityName $UserAssignedIDName `
    -Name $credentialName -Issuer "https://app.vstoken.visualstudio.com/<unique-identifier>" -Subject "sc://<Azure DevOps organization>/<Project name>/<Service Connection name>"

# Assign permission to the managed identity
$TFRSGScope = (get-azresourcegroup -Name $TFBackendRSGname).ResourceId

New-AzRoleAssignment -RoleDefinitionName Contributor -Scope $TFRSGScope -ObjectId $NewIdentity.PrincipalId
Prepare Azure DevOps
3. Install Terraform Extension
You will need this extension later in the pipeline:
Terraform - Visual Studio Marketplace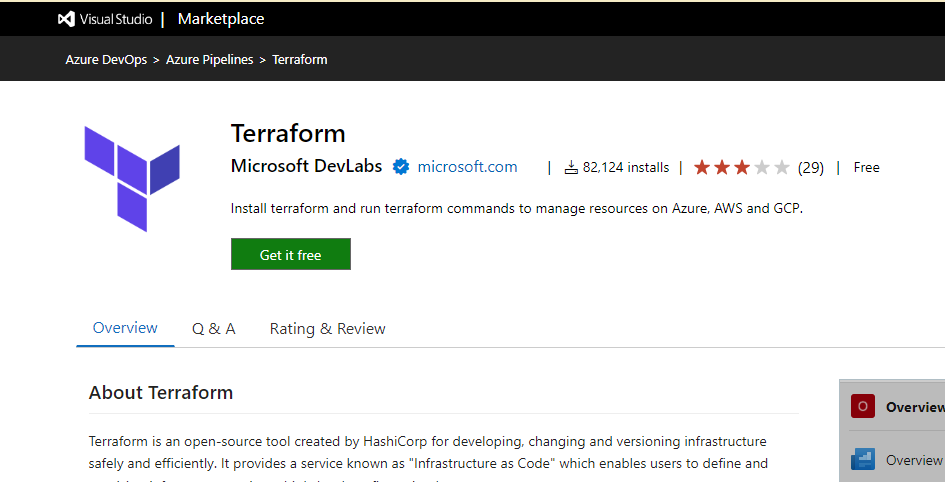
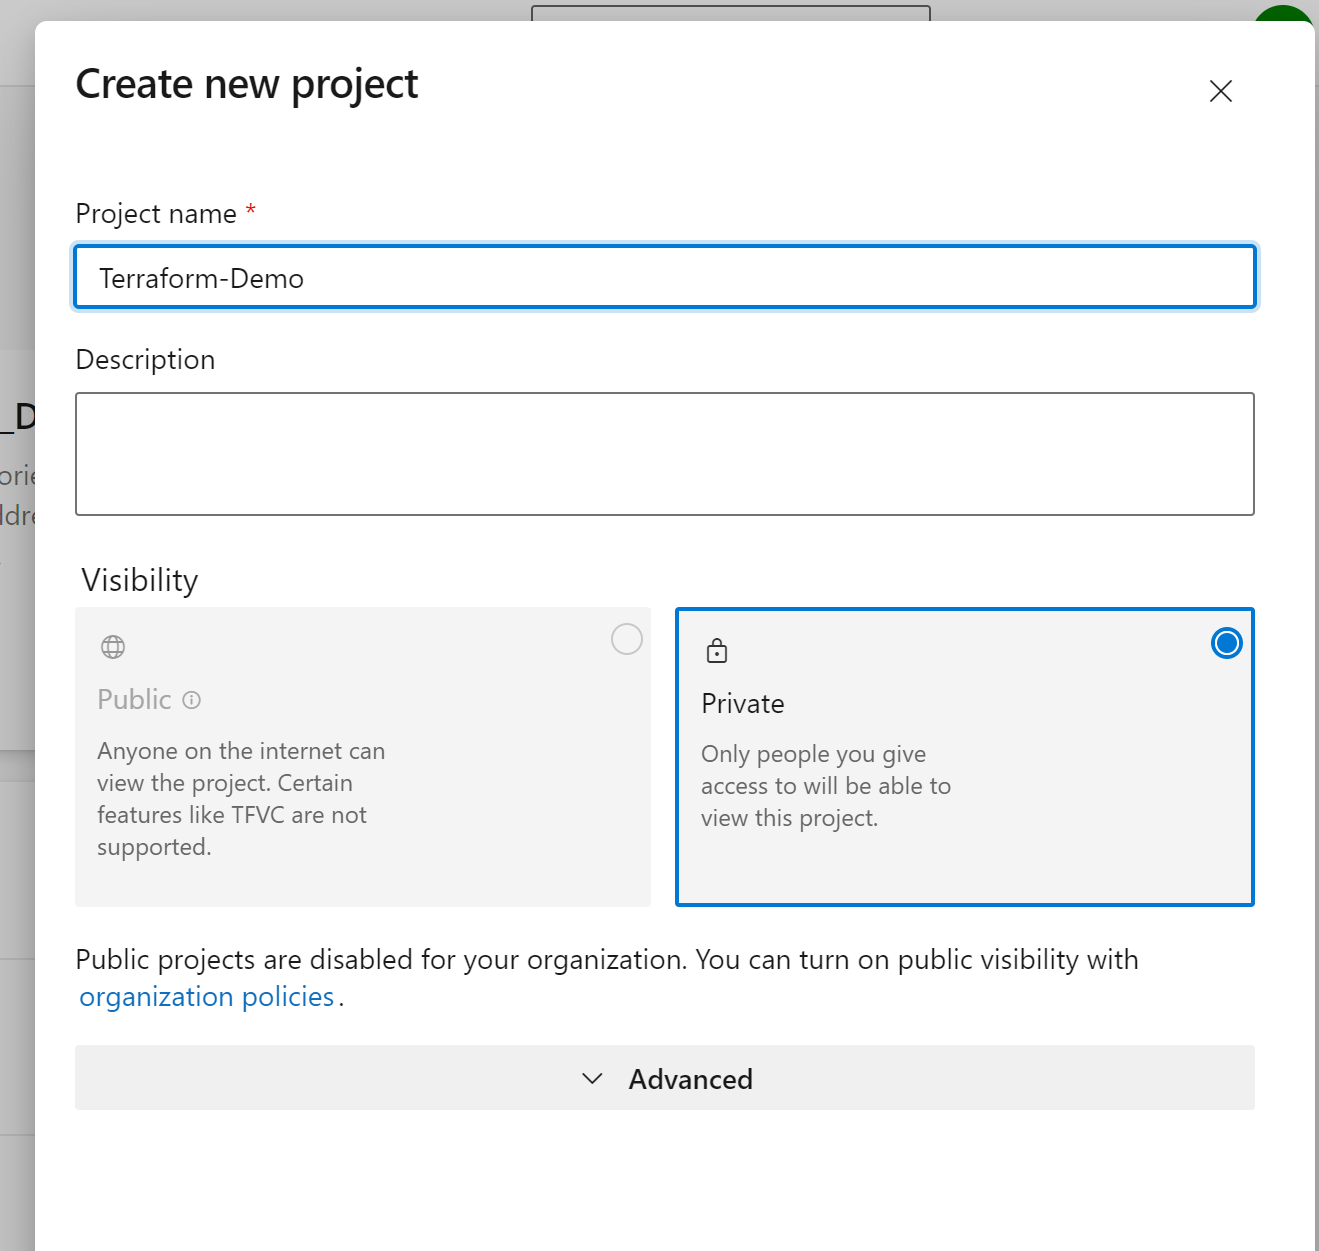
4. Create new Azure DevOps Project
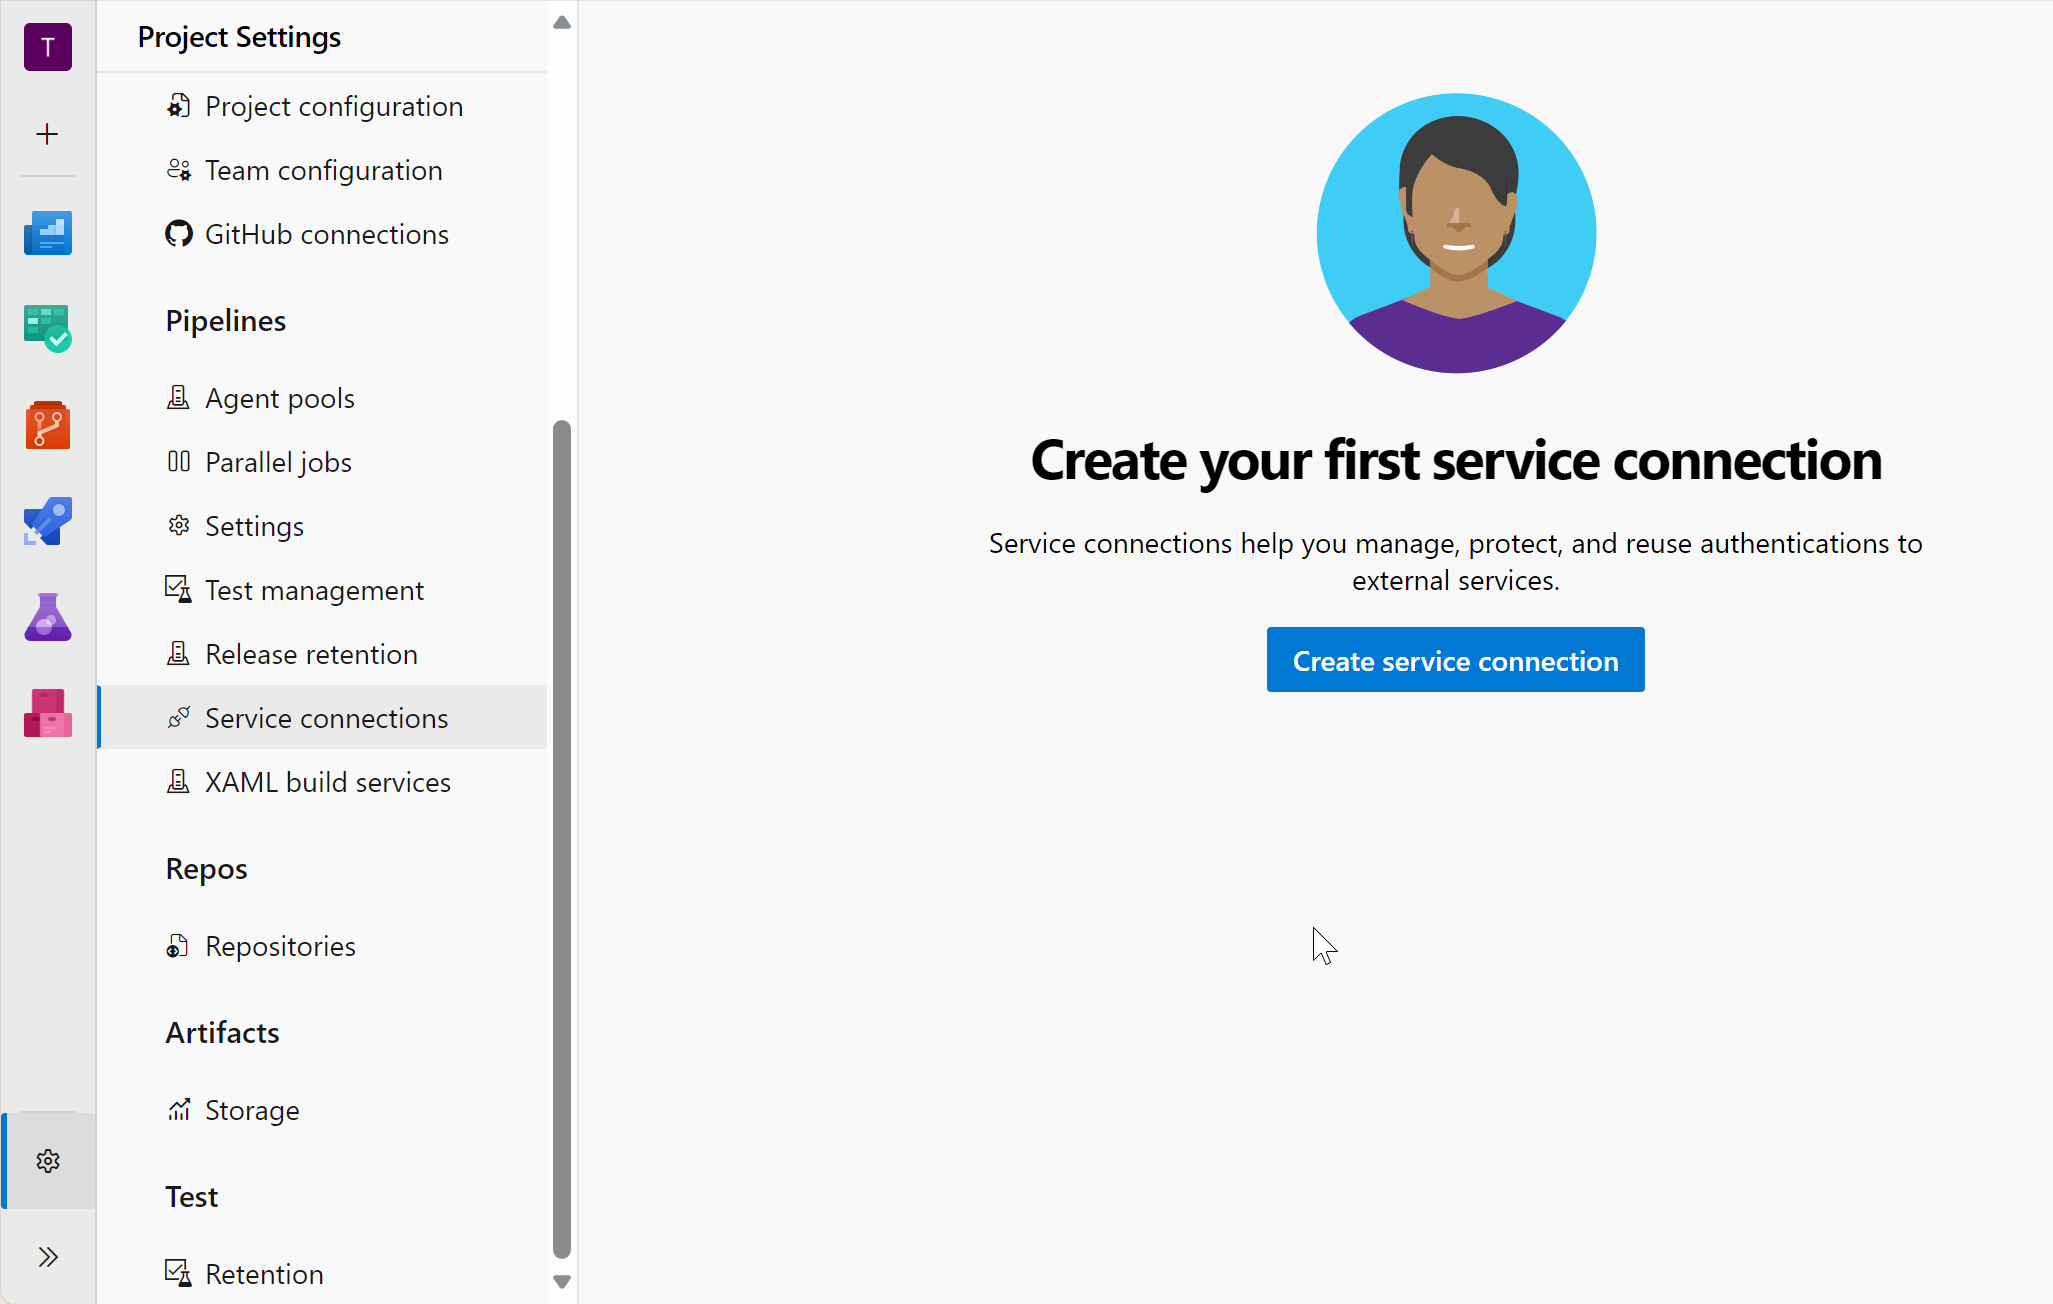
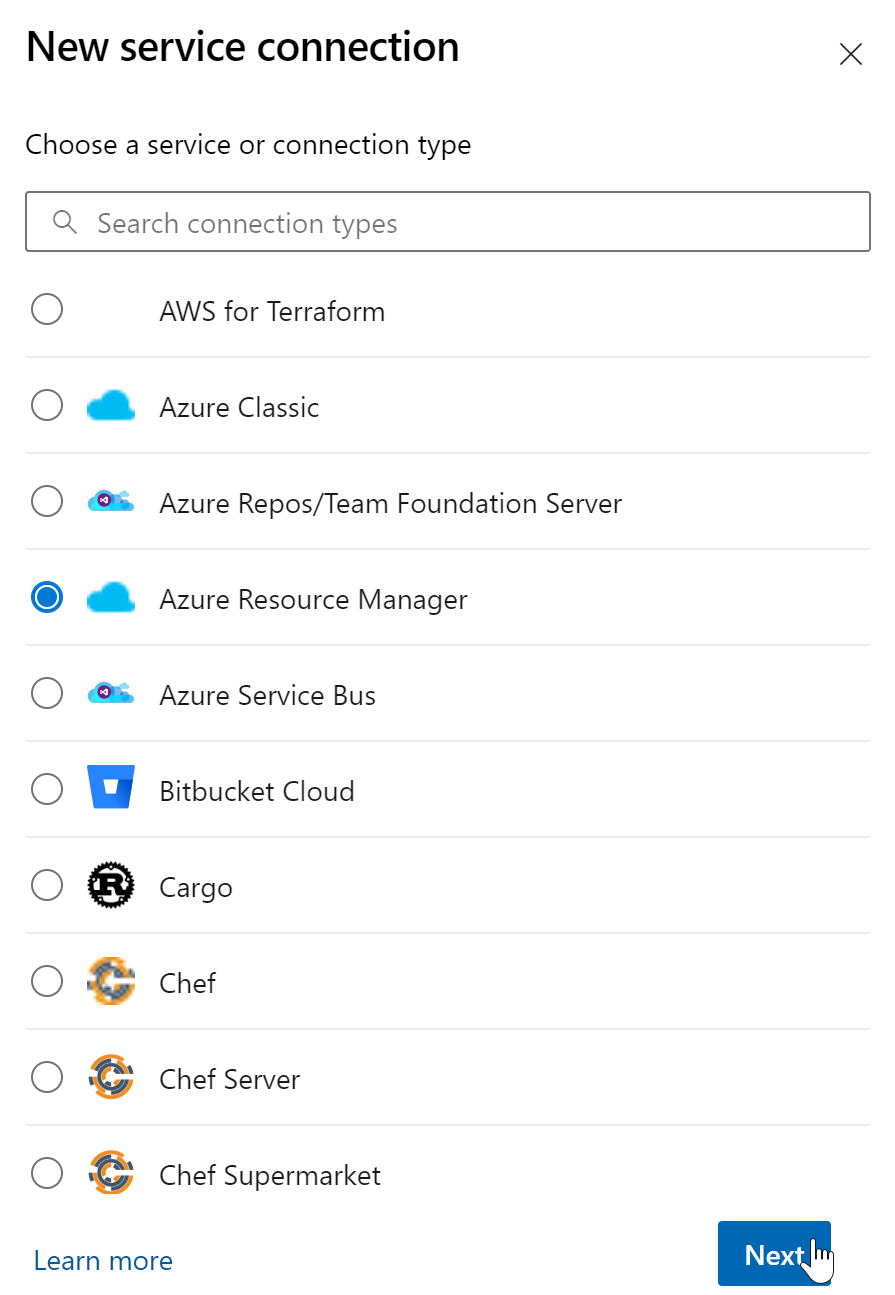
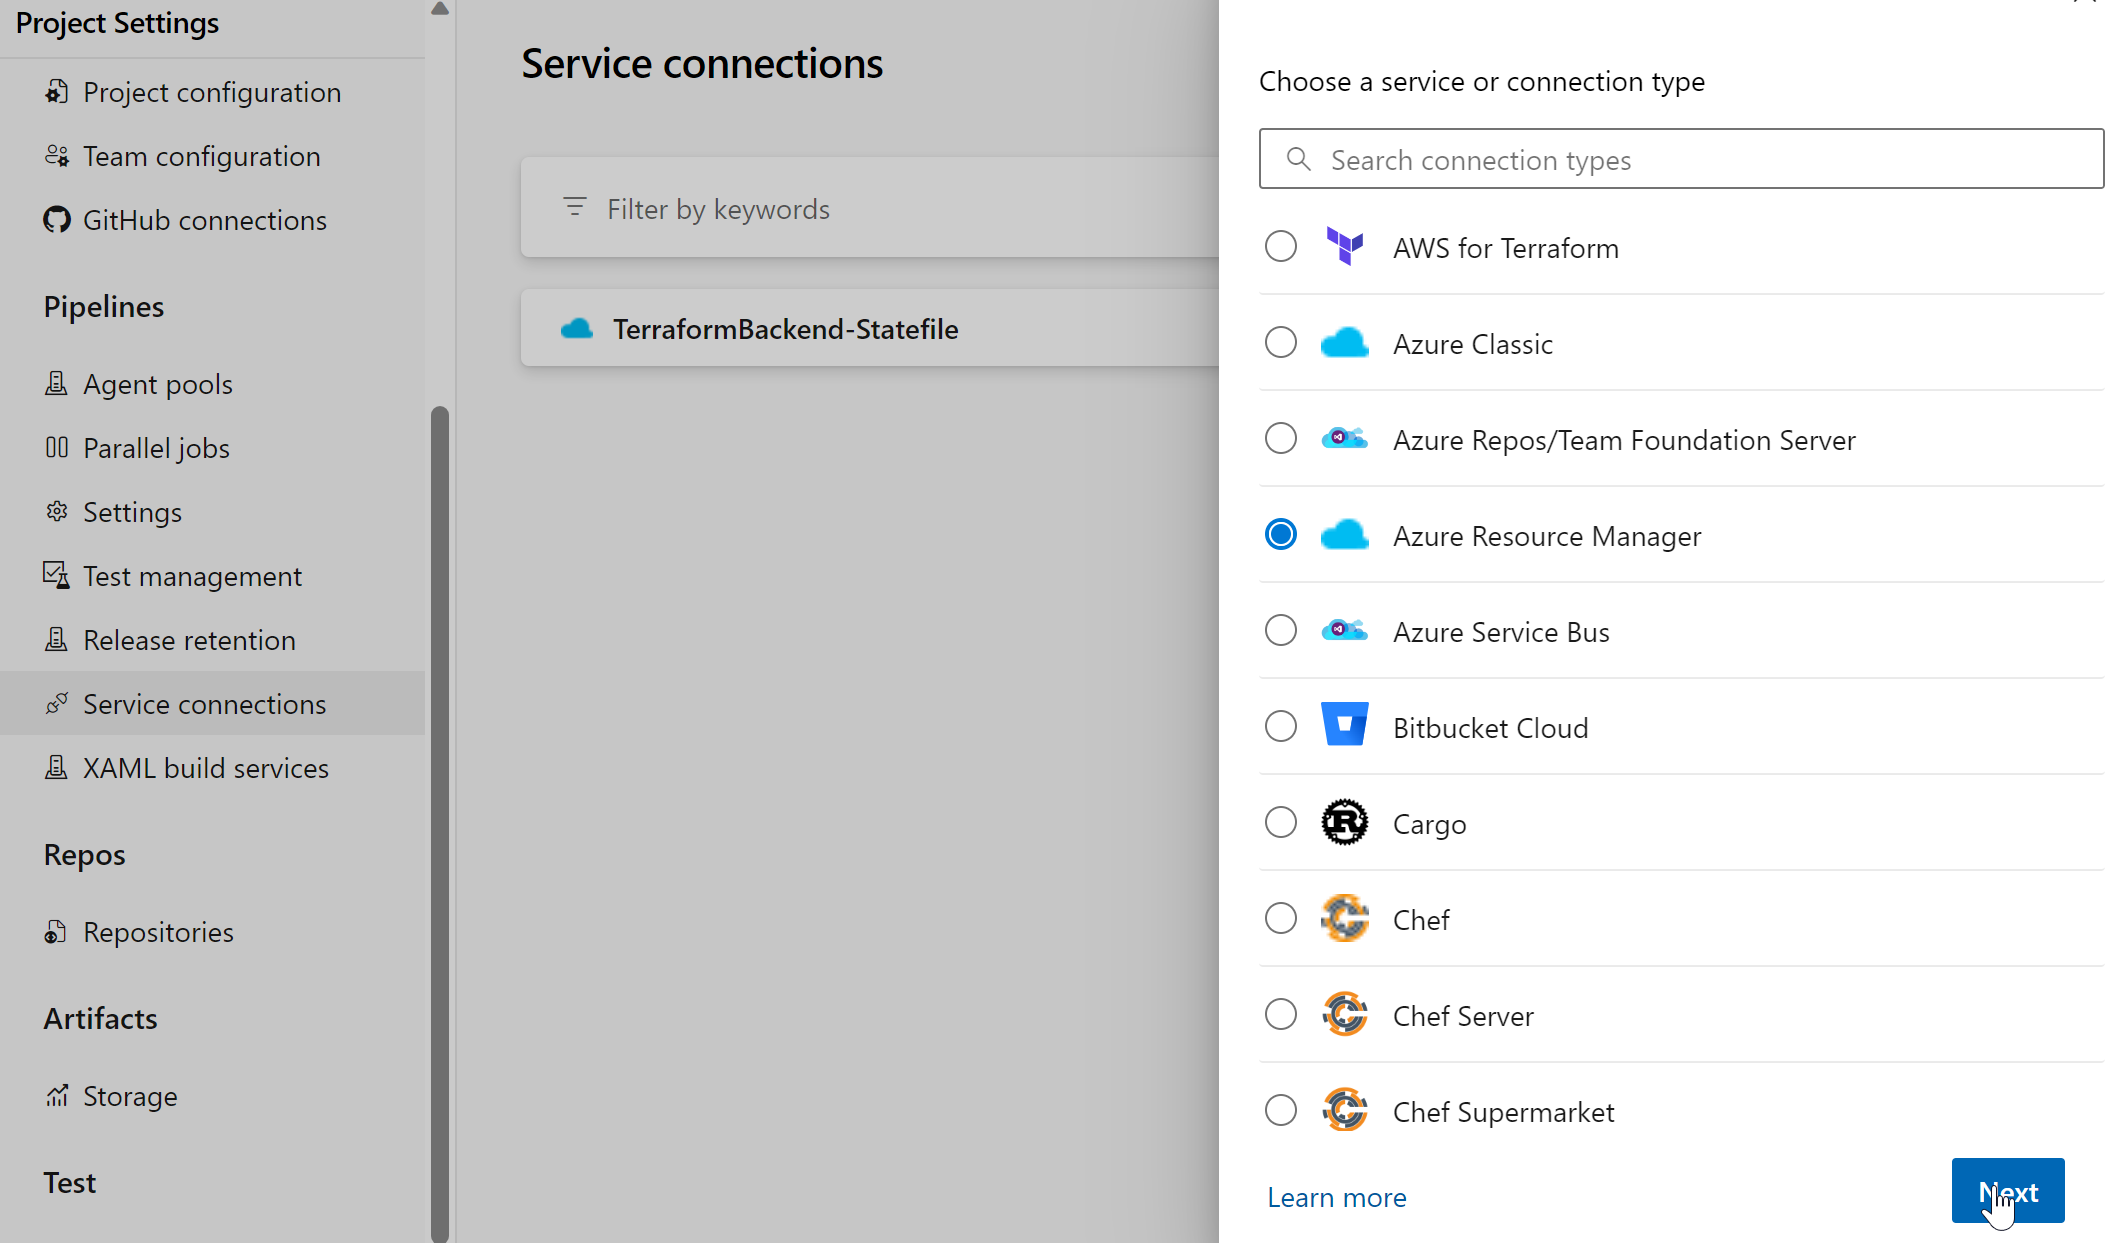
5. Create a Service Connection to the “backend Tenant” where the terraform state file will be stored
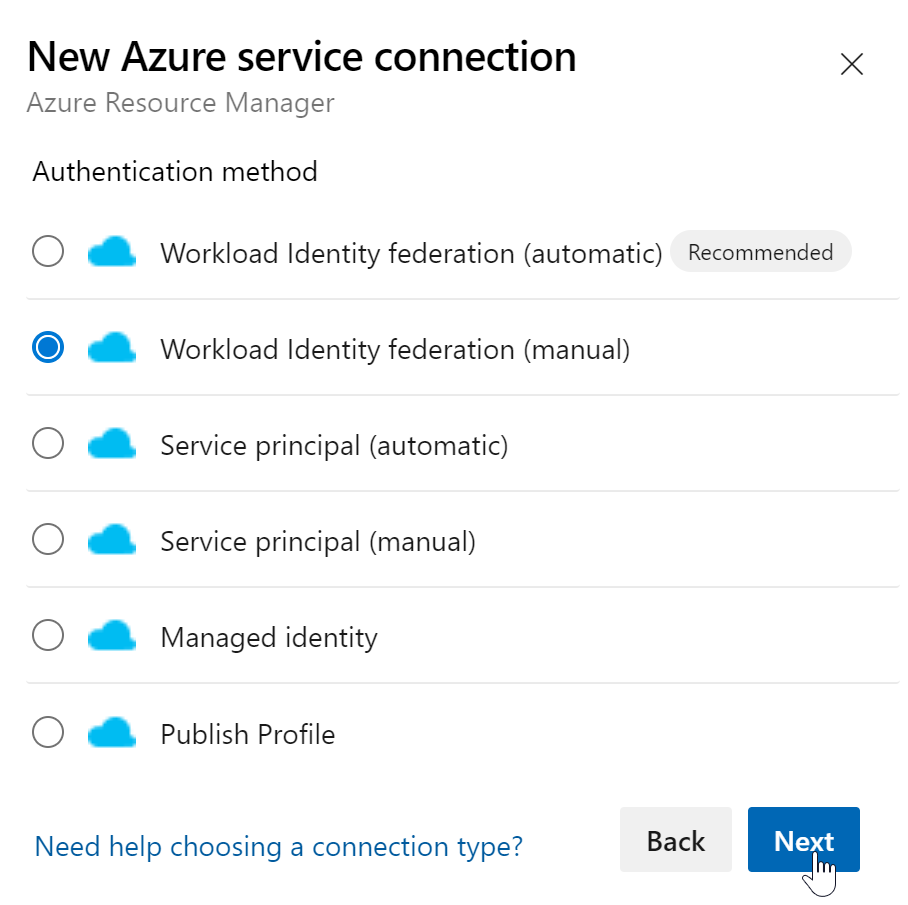
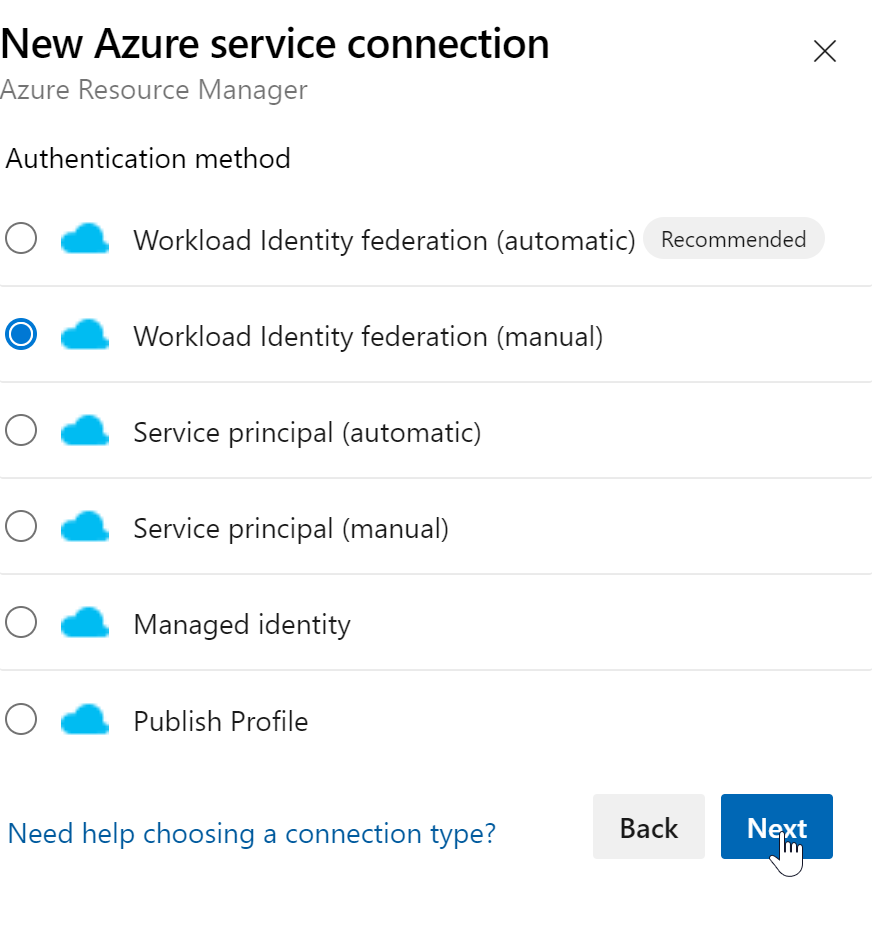
In earlier days we didn’t had the option of Workload Identity federation which we select now:
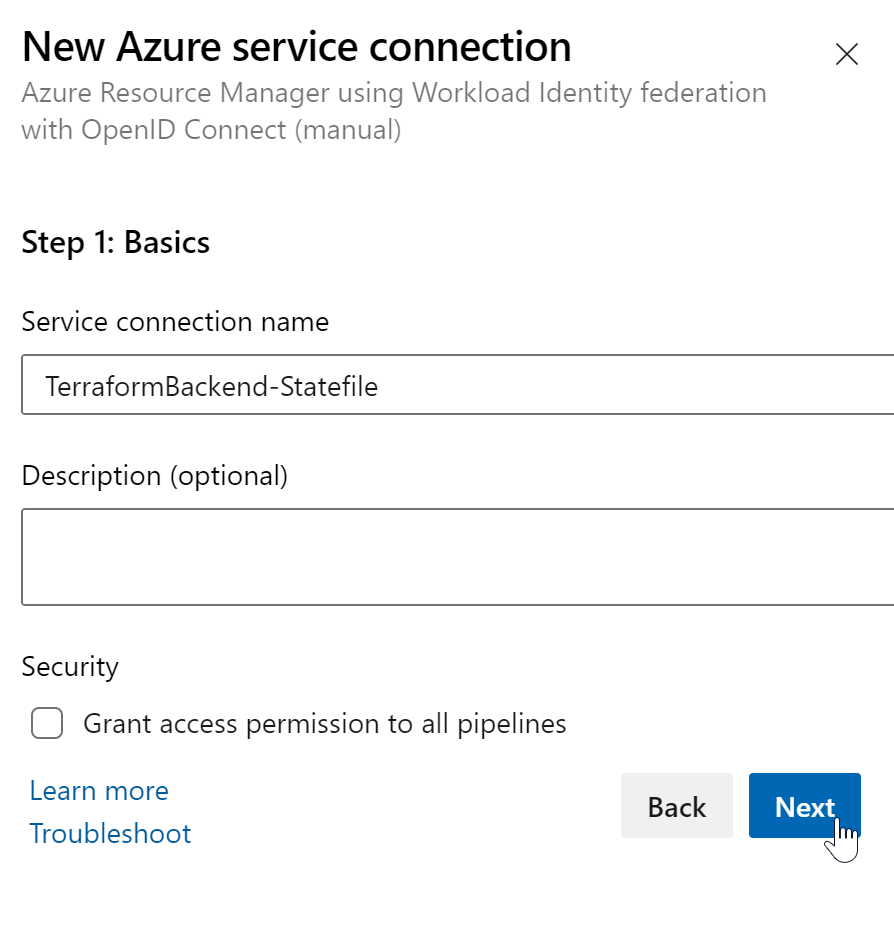
now you need to copy first the issuer and later the subject Identifier from here:
And switch to the managed identity that we created earlier to add those values to the federated credential:
Update the federated credential.
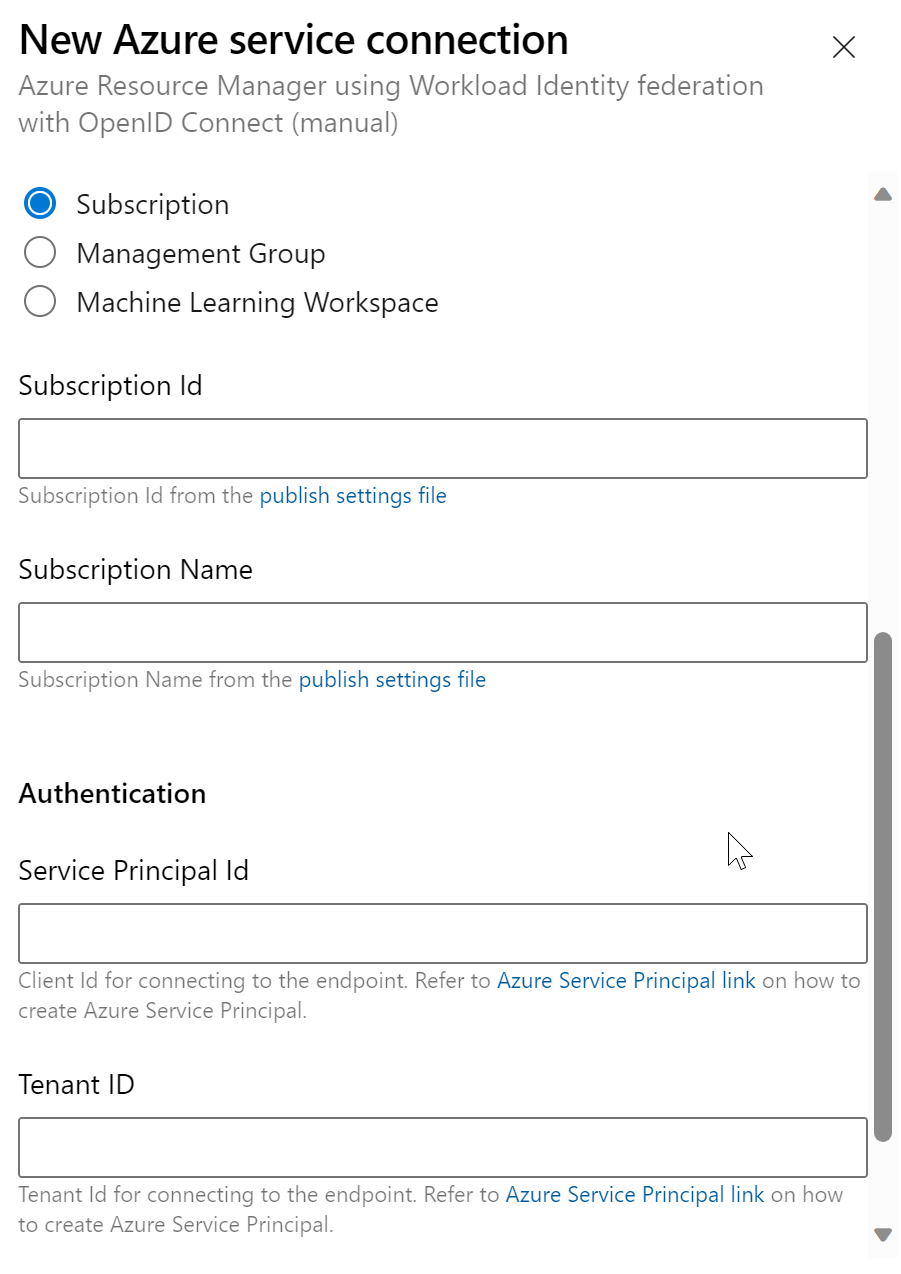
Back in the Azure DevOps service connection window, you need to provide:
- Subscription ID/Name -> the same subscription we used at the beginning to create the backend storage account for the Terraform state file
- Service Principal Id -> Client Id of the managed identity
- Tenant Id: from the tenant where the above subscription is located
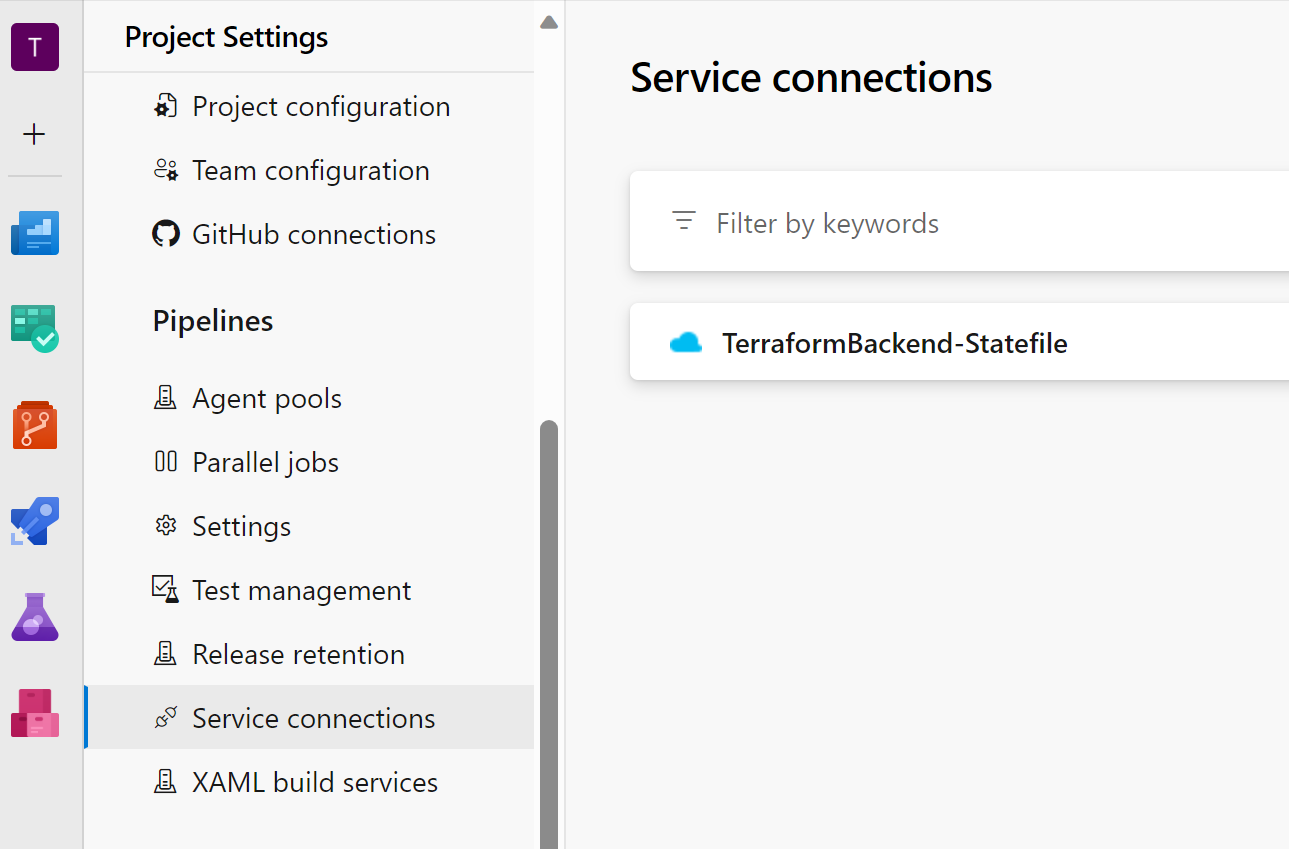
Then verify and save, and you can see a new service connection:
Prepare Customer Tenant where we want to deploy Azure Resources with Terraform
6. Create Managed Identity
To gain access to this tenant, we also need to create a managed identity with permissions at the desired scope.
In this example, we grant the managed identity the Contributor role on the Subscription.
# Connect with the "Backend tenant"
connect-azaccount

# Define variables
$subscriptionName = "SUB-Terraformdemo-01"
$resourceGroupName = "rg-terraform-demo-identity"
$location = "switzerlandnorth"
$UserAssignedIDName = "IDtfdemo2309231447"
$credentialName = "azdevops-backend"

# Set Azure Subscription
Set-AzContext -SubscriptionName $subscriptionName

# Create resource group
New-AzResourceGroup -Name $resourceGroupName -Location $location

# Create User assigned identity
$NewIdentity = New-AzUserAssignedIdentity -ResourceGroupName $resourceGroupName -Location $location -Name $UserAssignedIDName

# create federated credential
# Note: the Issuer + SubjectIdentifier will be changed later!
New-AzFederatedIdentityCredentials -ResourceGroupName $resourceGroupName -IdentityName $UserAssignedIDName `
    -Name $credentialName -Issuer "https://app.vstoken.visualstudio.com/<unique-identifier>" -Subject "sc://<Azure DevOps organization>/<Project name>/<Service Connection name>"

# Assign permission to the managed identity
$SubscriptionId = (get-azsubscription -SubscriptionName $subscriptionName).Id

New-AzRoleAssignment -RoleDefinitionName Contributor -Scope "/subscriptions/$SubscriptionId" -ObjectId $NewIdentity.PrincipalId
Azure DevOps: Create Customer Connection + Repo and Pipeline
7. Create a Service Connection to the “Customer Tenant”
Now, let’s proceed to create a second Service Connection:
In this step, you’ll also need to copy the issuer and subject identifier as shown below: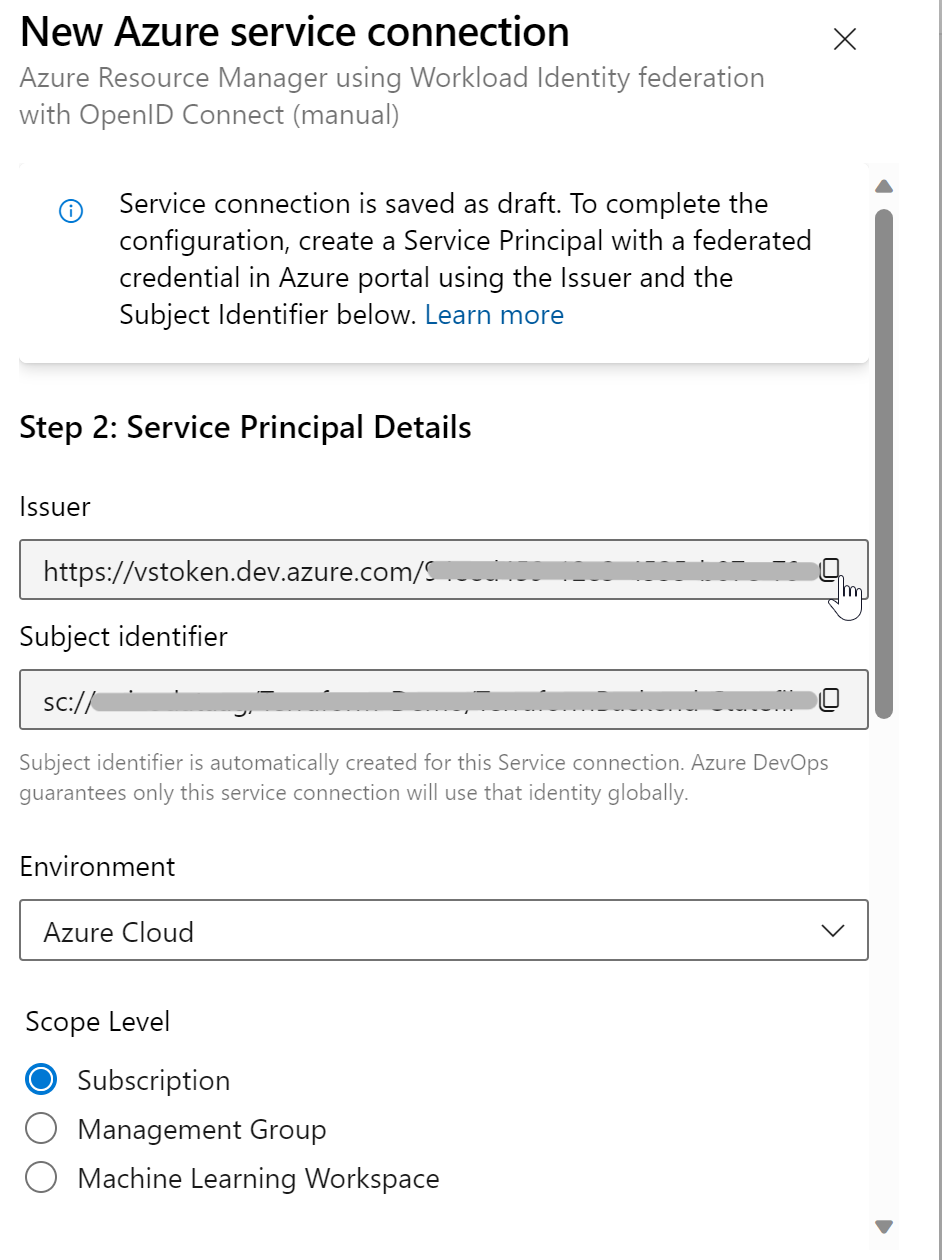
Next, add these copied values to the federated credential of the managed identity in the “customer tenant”:
Now, return to the Azure DevOps Wizard and enter the necessary information for the customer tenant.
Specifically, set the Service Principal Id to the Client Id of the managed identity:
After verifying the settings, save the configuration, and you’ll now have two service connections: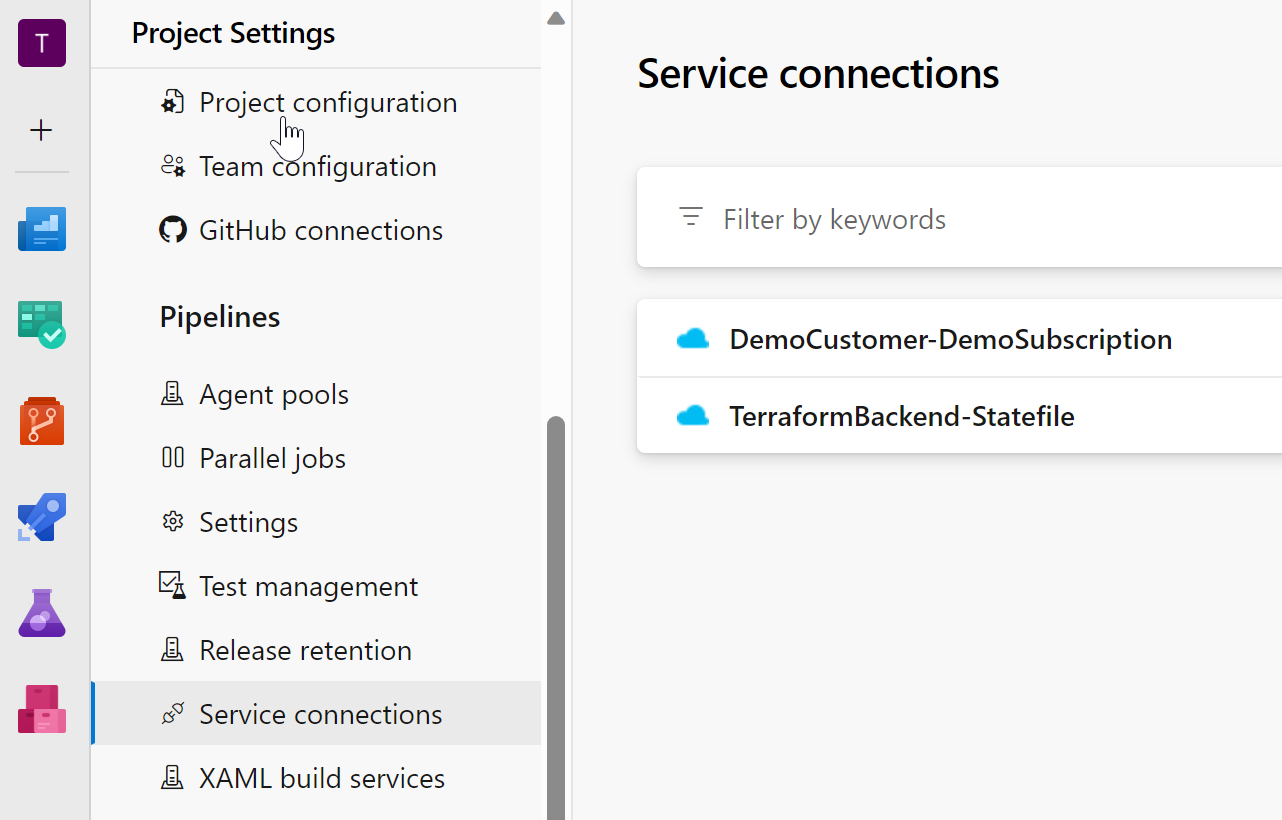
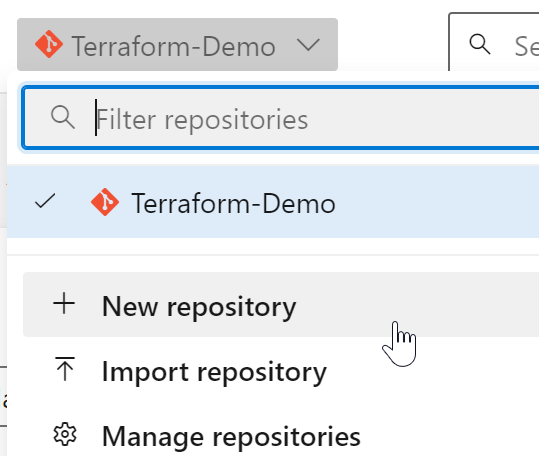
8. Create a new Repository
Now, let’s create a new repository where we will store our Terraform code and the pipeline file:
After creating the repository, you can clone it, for example, into Visual Studio Code (VSCode).
Prepare Directory + terraform files in Repo
We will organize the repository with the following directory structure:
Terraform-Demo
└── terraform
    ├── 00_provider.tf
    ├── 01_mainexample.tf
└── azure-pipeline.yaml
Note: In the provider file we add an empty backend. The values for the backend storage account will be provided in the pipeline.
00_provider tf:
terraform {
  backend "azurerm" {
  }
  required_version = "1.4.0"
}

provider "azurerm" {
  alias           = "platform"
  features {
  }
}
The only thing we want to create for now is an empty resource group:
01_mainexample tf
resource "azurerm_resource_group" "demo" {
  provider = azurerm.platform
  name     = "rsg-demo"
  location = "Switzerlandnorth"
}
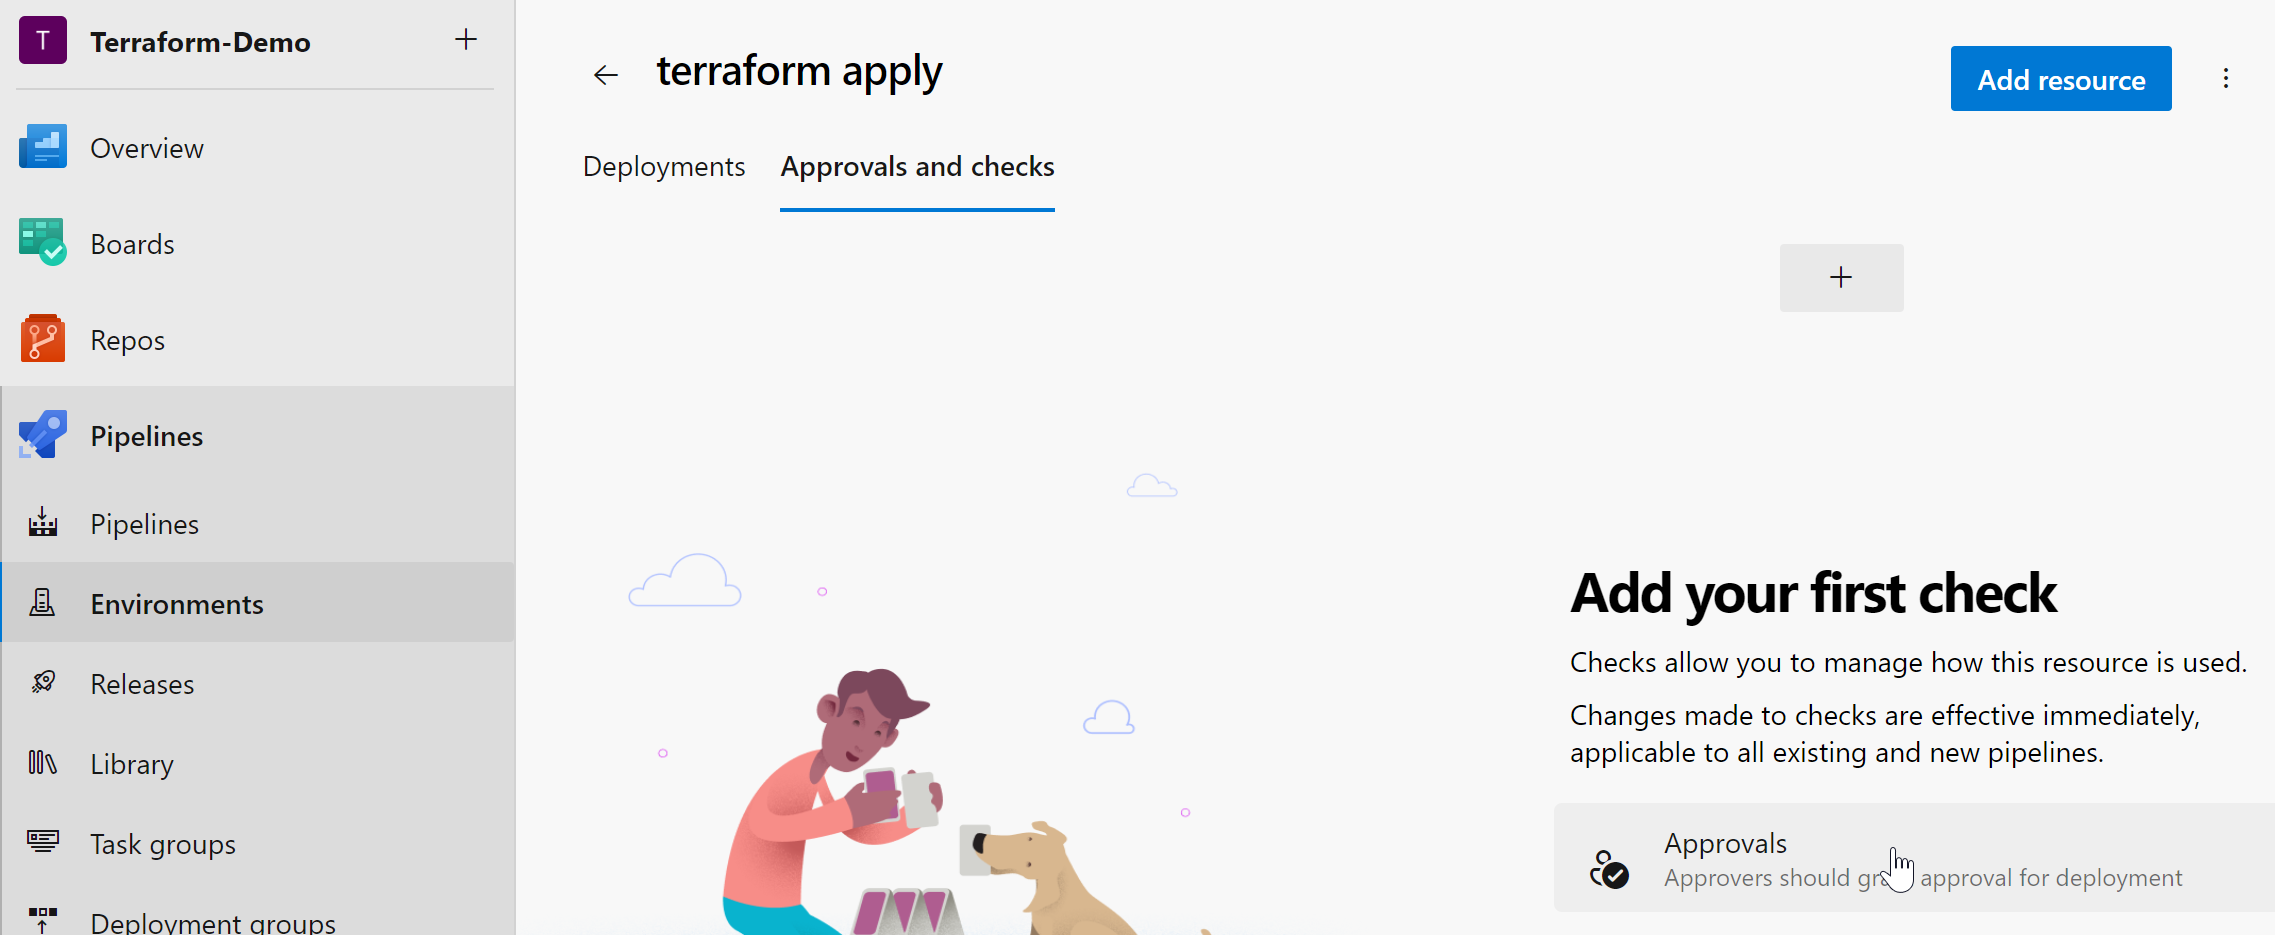
9.1 Create a Plan and Approval Environment
To enable reviewing the Terraform plan and approving it for execution, we’ll set up an approval environment:
- Navigate to Pipelines, Environment
- Click “New Environment” and create new environment variables for:
- terraform plan
- terraform apply
for the terraform apply add an approval check:
9.2 Prepare Pipeline file
Important are the variables:
- customer_repo_name: Name of the repository where Terraform Code is stored
- backendServiceArm: Name of the Service Connection to the “Backend Tenant” where terraform state will be stored
- backendAzureRmResourceGroupName: Resource Group Name of Terraform State File
- backendAzureRmStorageAccountName: Storage Account Name of Terraform State File
- backendAzureRmContainerName: Storage Account Container Name of Terraform State File
- backendAzureRmKey: Name of the Terraform State File
- environmentServiceNameAzureRM: Name of the Service Connection to the “customer tenant”
trigger:
- main

pool:
  name: Azure Pipelines
  vmImage: windows-2019

variables:
  terraform_version: 1.4.0
  customer_repo_name: Terraform-Demo
  backendServiceArm: TerraformBackend-Statefile
  backendAzureRmResourceGroupName: rg-terraform-backend-demo
  backendAzureRmStorageAccountName: tfdemo23092314462014
  backendAzureRmContainerName: terraform01
  backendAzureRmKey: terraform.tfstate
  environmentServiceNameAzureRM: 'DemoCustomer-DemoSubscription'


# STAGE COPY ######################################################################################################################################
stages:
  - stage: copy
    jobs:
      - job: updaterepo
        displayName: Update standard repo with customer code
        timeoutInMinutes: 120

        steps:
          - task: CopyFiles@2
            displayName: "Copy Files to: $(build.artifactstagingdirectory)"
            inputs:
              SourceFolder: terraform
              TargetFolder: "$(build.artifactstagingdirectory)"

          - task: PublishBuildArtifacts@1
            displayName: 'Publish Artifact: drop\terraform'
            inputs:
              PathtoPublish: "$(build.artifactstagingdirectory)"
              ArtifactName: terraform

  # STAGE PLAN #######################################################################################################################################
  - stage: plan
    jobs:
      - deployment: plan
        condition: eq(1,1) # only run this job if condition is equal, example: eq(1,1)
        displayName: Terraform plan
        timeoutInMinutes: 60
        continueOnError: false

        environment: Terraform plan
        strategy:
          runOnce:
            deploy:
              steps:
                - download: current
                  artifact: terraform
                  displayName: Download Repo

                - task: ms-devlabs.custom-terraform-tasks.custom-terraform-installer-task.TerraformInstaller@0
                  displayName: "Terraform Version: ${{variables.terraform_version}}"
                  inputs:
                    terraformVersion: ${{variables.terraform_version}}

                - task: TerraformTaskV4@4
                  displayName: "terraform init"
                  inputs:
                    provider: 'azurerm'
                    command: 'init'
                    backendServiceArm: '${{ variables.backendServiceArm }}'
                    backendAzureRmResourceGroupName: '${{ variables.backendAzureRmResourceGroupName }}'
                    backendAzureRmStorageAccountName: '${{ variables.backendAzureRmStorageAccountName }}'
                    backendAzureRmContainerName: '${{ variables.backendAzureRmContainerName }}'
                    backendAzureRmKey: '${{ variables.backendAzureRmKey }}'
                    environmentServiceNameAzureRM: '${{ variables.environmentServiceNameAzureRM }}'
                    workingDirectory: '$(Agent.BuildDirectory)\Terraform'

                - task: TerraformTaskV4@4
                  displayName: "terraform plan"
                  inputs:
                    provider: 'azurerm'
                    command: 'plan'
                    environmentServiceNameAzureRM: '${{ variables.environmentServiceNameAzureRM }}'
                    workingDirectory: '$(Agent.BuildDirectory)\Terraform'
                    commandOptions: '-input=false -out=$(Agent.BuildDirectory)\plan'

                - task: PublishBuildArtifacts@1
                  inputs:
                    pathToPublish: '$(Agent.BuildDirectory)\plan'
                    artifactName: plan

 # STAGE APPLY #######################################################################################################################################
  - stage: tfapply
    jobs:
      - deployment: dpapply
        condition: eq(1,1) # only run this job if condition is equal, example: eq(1,1)
        displayName: Terraform apply
        timeoutInMinutes: 30

        environment: Terraform apply
        strategy:
          runOnce:
            deploy:
              steps:
                - download: current
                  artifact: terraform
                  displayName: Download Merged Repo

                - download: current
                  artifact: plan
                  displayName: Download plan


                - task: ms-devlabs.custom-terraform-tasks.custom-terraform-installer-task.TerraformInstaller@0
                #- task: TerraformInstaller@0
                  displayName: "Terraform Version: ${{variables.terraform_version}}"
                  inputs:
                    terraformVersion: ${{variables.terraform_version}}

                - task: TerraformTaskV4@4
                  displayName: "terraform init"
                  inputs:
                    provider: 'azurerm'
                    command: 'init'
                    backendServiceArm: '${{ variables.backendServiceArm }}'
                    backendAzureRmResourceGroupName: '${{ variables.backendAzureRmResourceGroupName }}'
                    backendAzureRmStorageAccountName: '${{ variables.backendAzureRmStorageAccountName }}'
                    backendAzureRmContainerName: '${{ variables.backendAzureRmContainerName }}'
                    backendAzureRmKey: '${{ variables.backendAzureRmKey }}'
                    environmentServiceNameAzureRM: '${{ variables.environmentServiceNameAzureRM }}'
                    workingDirectory: '$(Agent.BuildDirectory)\Terraform'


                - task: TerraformTaskV4@4
                  displayName: "terraform apply"
                  inputs:
                    provider: 'azurerm'
                    command: 'apply'
                    environmentServiceNameAzureRM: '${{ variables.environmentServiceNameAzureRM }}'
                    workingDirectory: '$(Agent.BuildDirectory)\Terraform'
                    commandOptions: '-input=false -no-color $(Agent.BuildDirectory)\plan\plan'
9.3 Create the Pipeline
select repo and pipeline file - and run
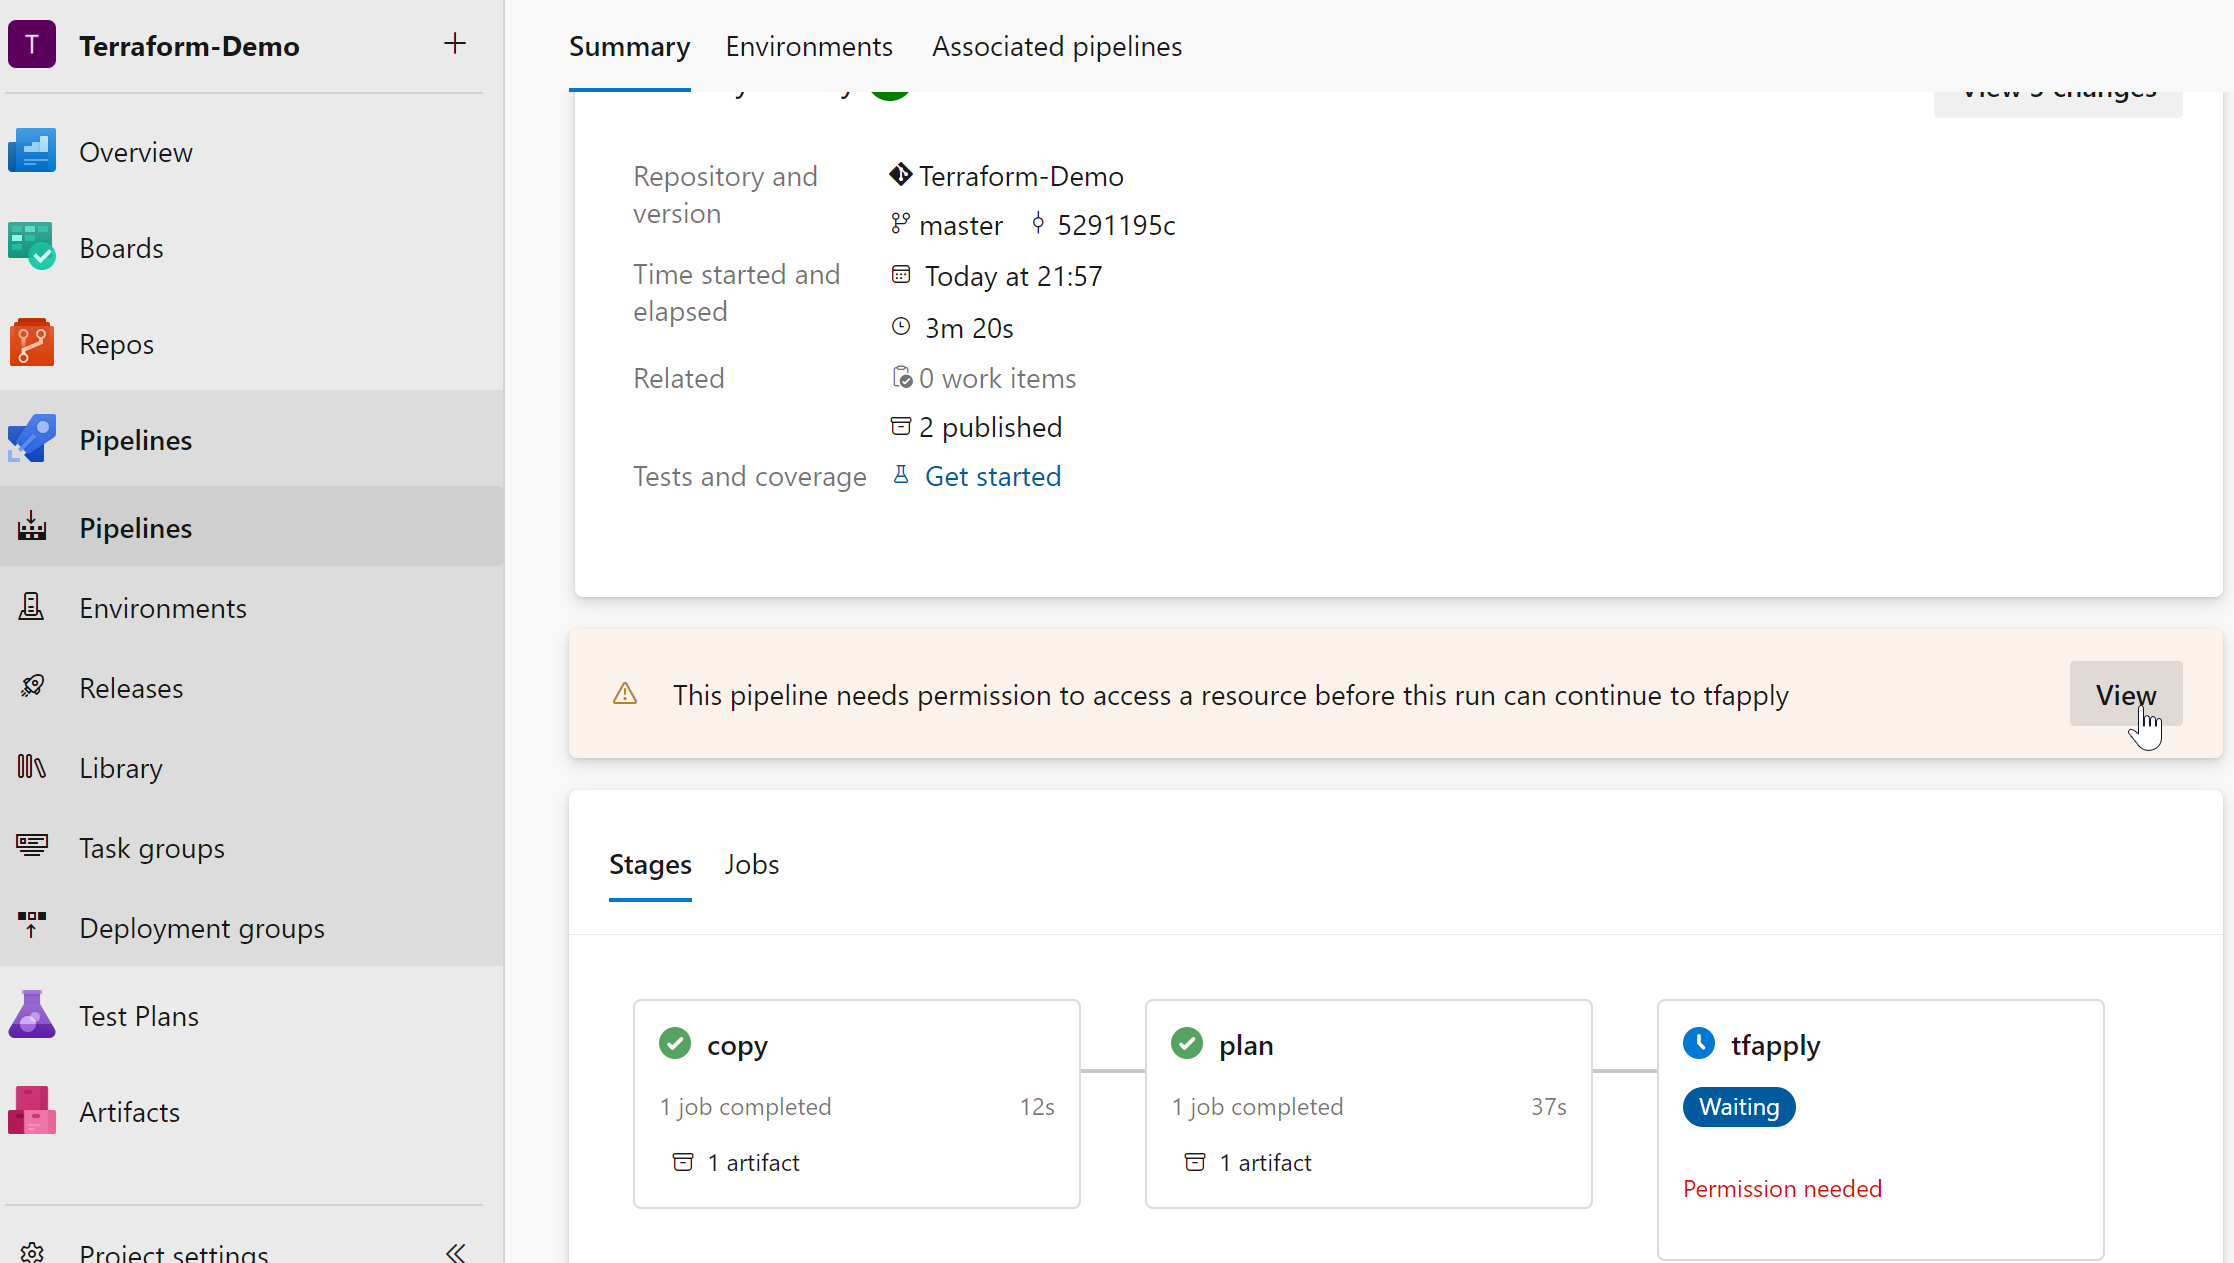
note: first time you run the pipeline you need to permit access to environments and so on.
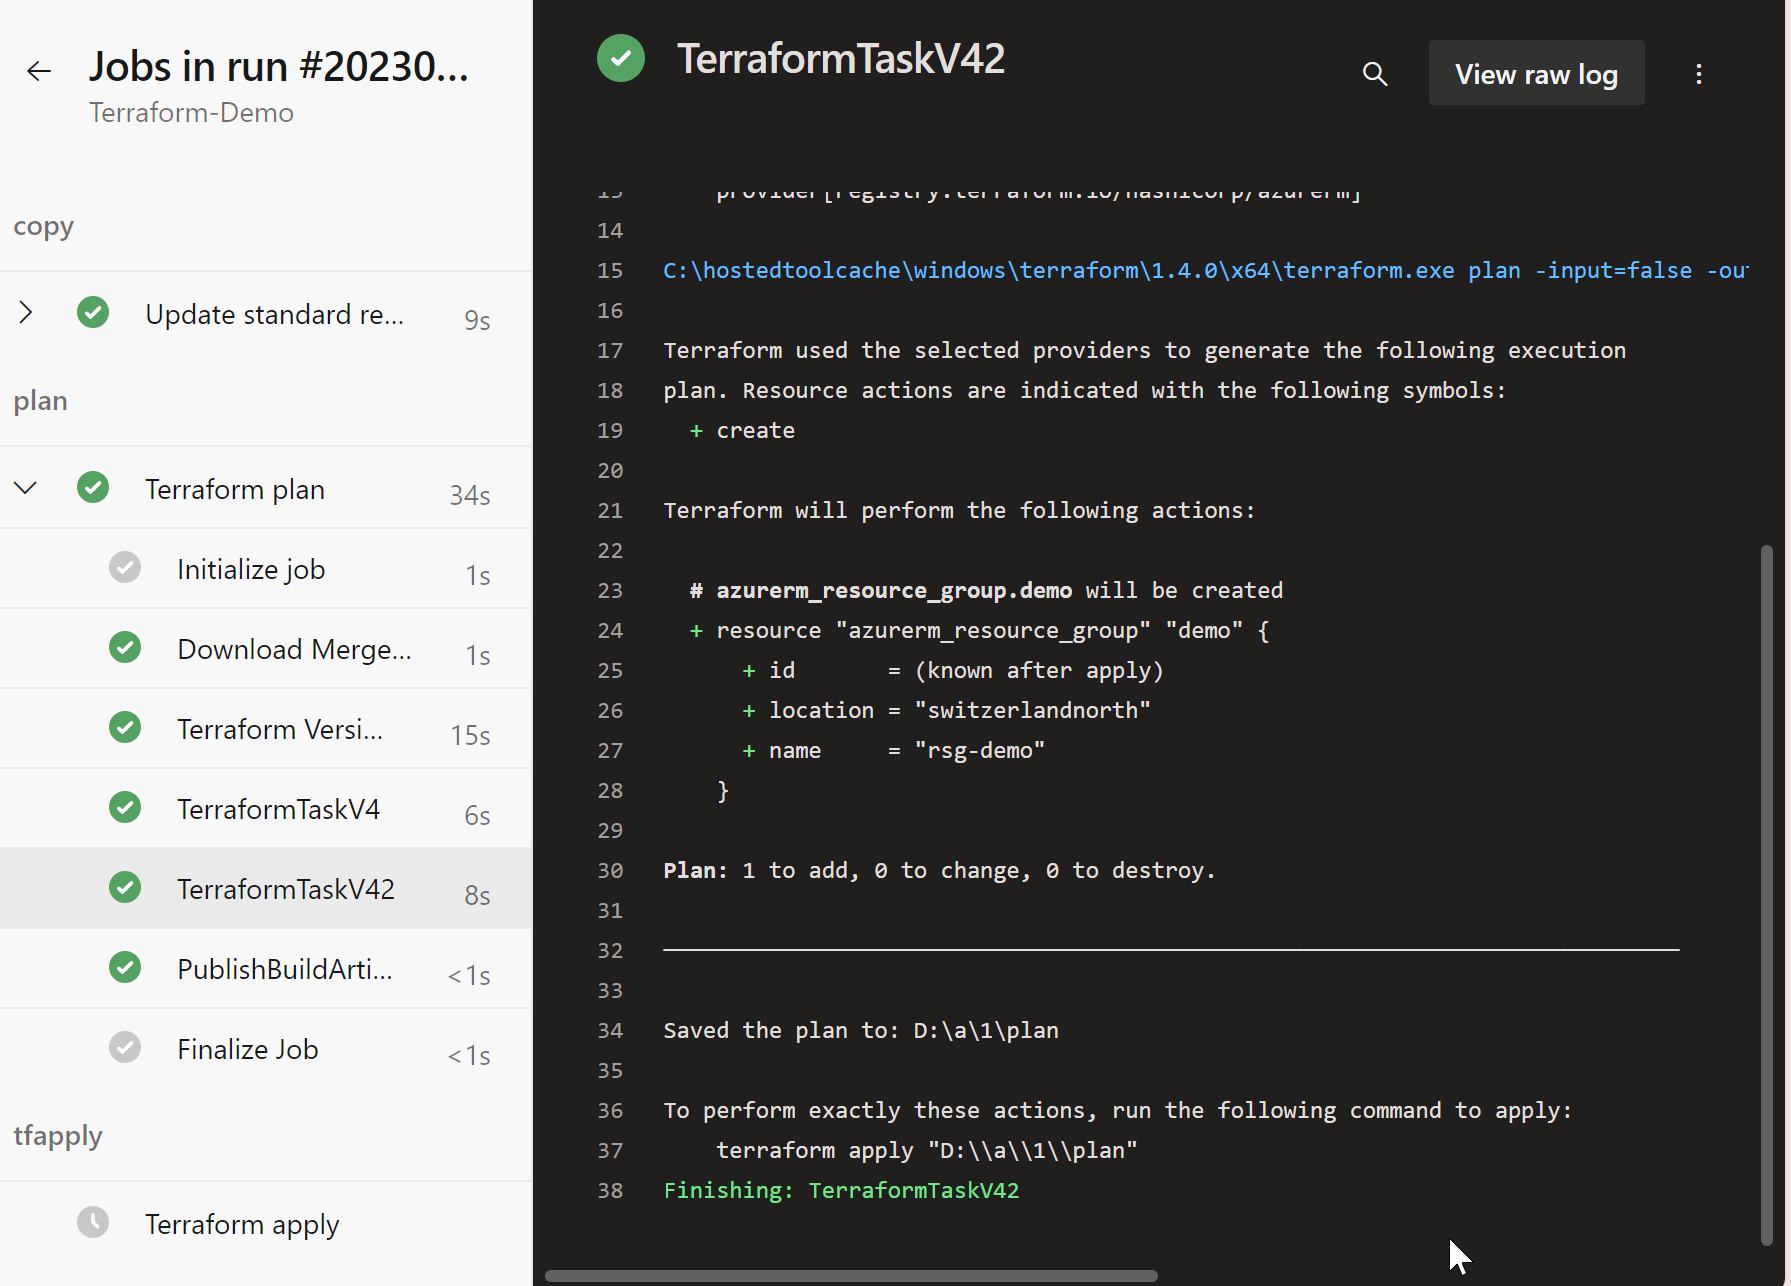
you can look up the terraform plan
If you want to approve it to run terraform apply you can do that:
and now terraform can successfuly create my declared empty resource group:
what about running terraform locally?
Because we are using a managed identity and not a service principal with a secret that has a certain lifetime we are not directly able to run terraform from the local Machine. In Part 2 I will show you a possible solution for using terraform locally if necessary.
