Securing Resources in Azure VMs with Microsoft Entra Private Access in a Hub-and-Spoke Architecture
I did a little Microsoft Entra Private Access Test setup.
My goal was to test access to some private Resources hosted on Azure Virtual Machines with Microsoft Entra Private Access instead of VPN.
Overview
The test setup is illustrated below: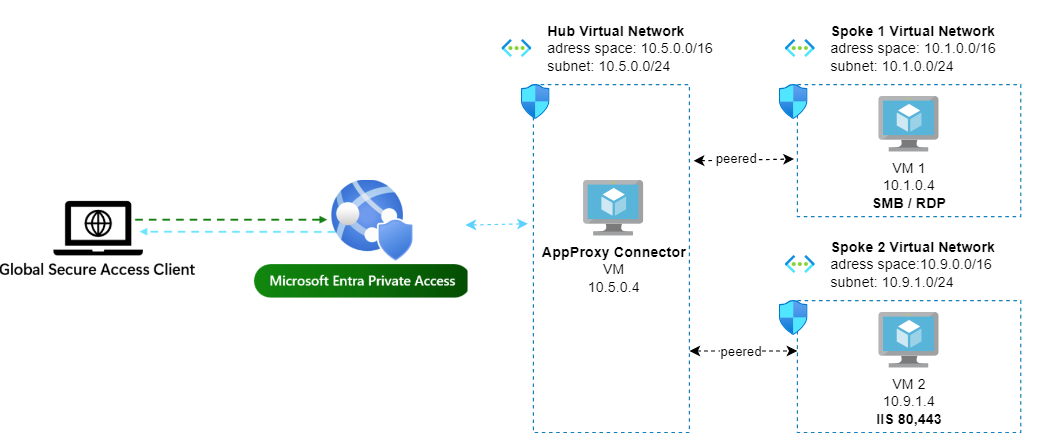
I have one Virtual Machine (VM) with a Windows File Share that I wish to access from my endpoint and I also want to be able to access this VM via RDP.
Additionaly in another Spoke VNET I have a simple Web Server which I also would like to access via Private Access.
Following the Microsoft Documentation: How to get started with global secure access
There are four main points which needs be configured from Microsoft Entra Private Access side:
- The App Proxy connector and connector group
- Quick Access for private resources OR a private Global Secure Access Application
- Private Access traffic forwanding profile
- Global Secure Access Client on end-user devices
1. Configure App Proxy connector
Read the docs for more details: How to configure App Proxy connectors for Microsoft Entra Private Access
Prepare new Windows Azure VM
I prepared the following:
- New Windows Server VM on Azure in a new Hub VNET
Download the Connector
After successfully creating the VM I downloaded the Connector service from the Entra Admin Center:
Install the Connector
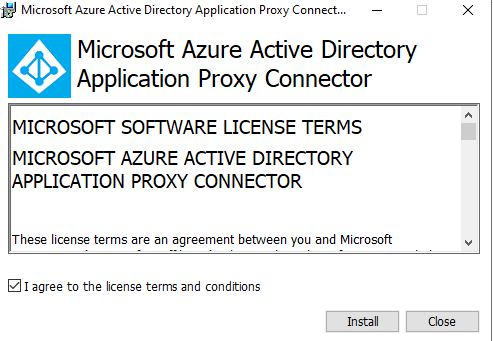
Connect to the new created VM and install the connector:
during the installation a login with your global admin is required.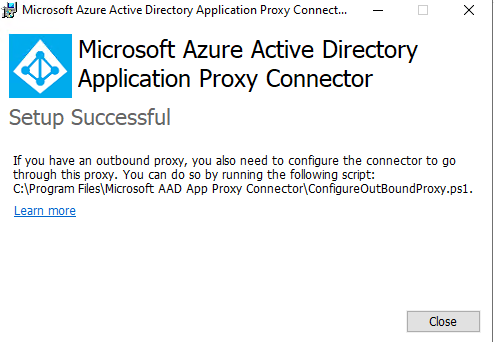
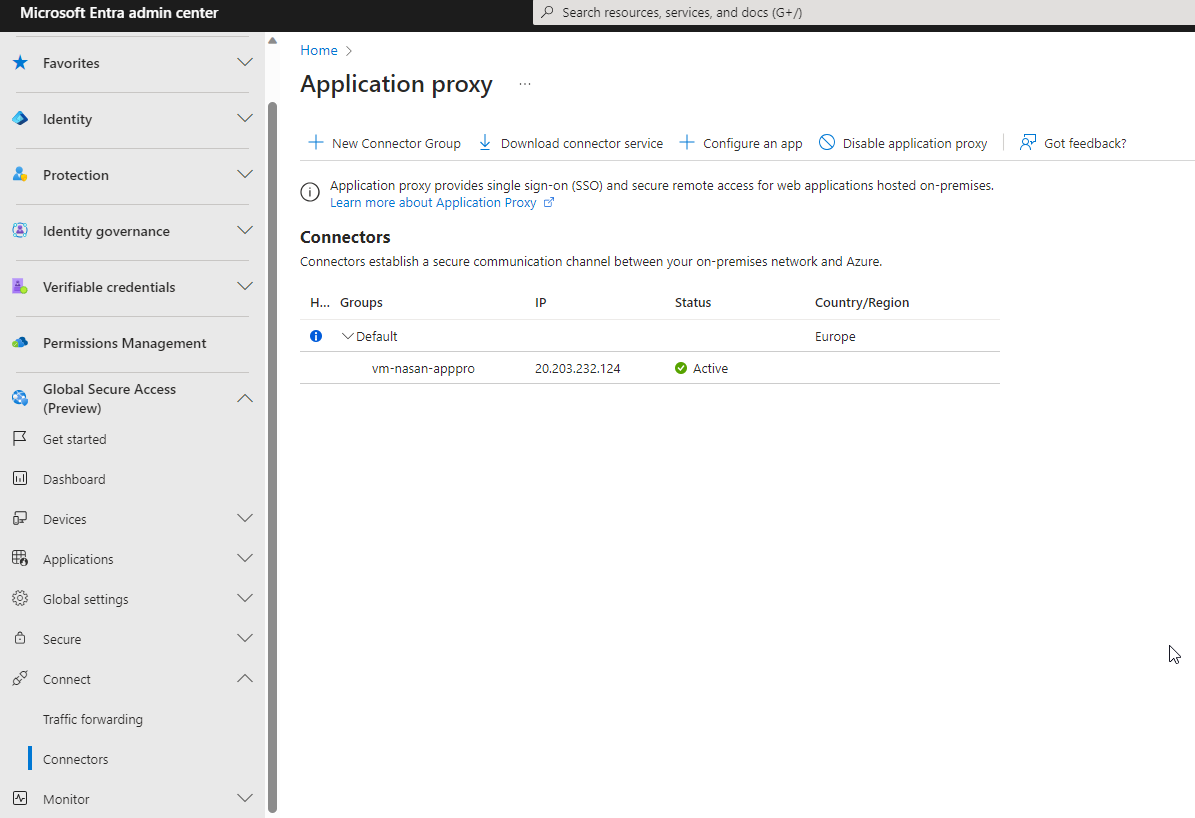
Verify Connector Status in the Entra Portal
Prepare Spoke Vnet 1 and Windows Server File Web Server
Now the appproxy VM is prepared and I’m gonna create two further VMs in two different VNETs which both will serve as separate spokes. In order to be able to work as spoke the VNETs will be peered to the Hub VNET.
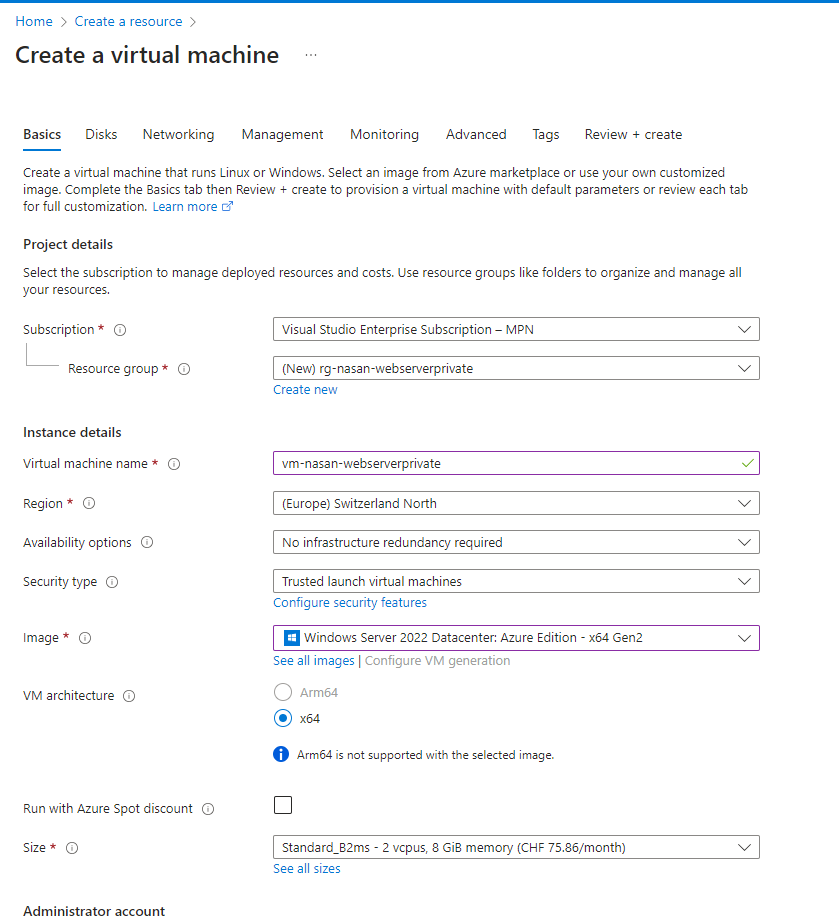
Create new VM with a Web Server
this VM will be placed into a new Spoke VNET:
Create VNET Peering
After successfully creating the VM and VNET, I established peering between the newly created spoke VNET and the hub VNET.
Install IIS on the Web Server
After successful peering of the VNETs, I installed IIS on the new VM:
Install-WindowsFeature -name Web-Server -IncludeManagementTools
and verified that the default site was accessible locally.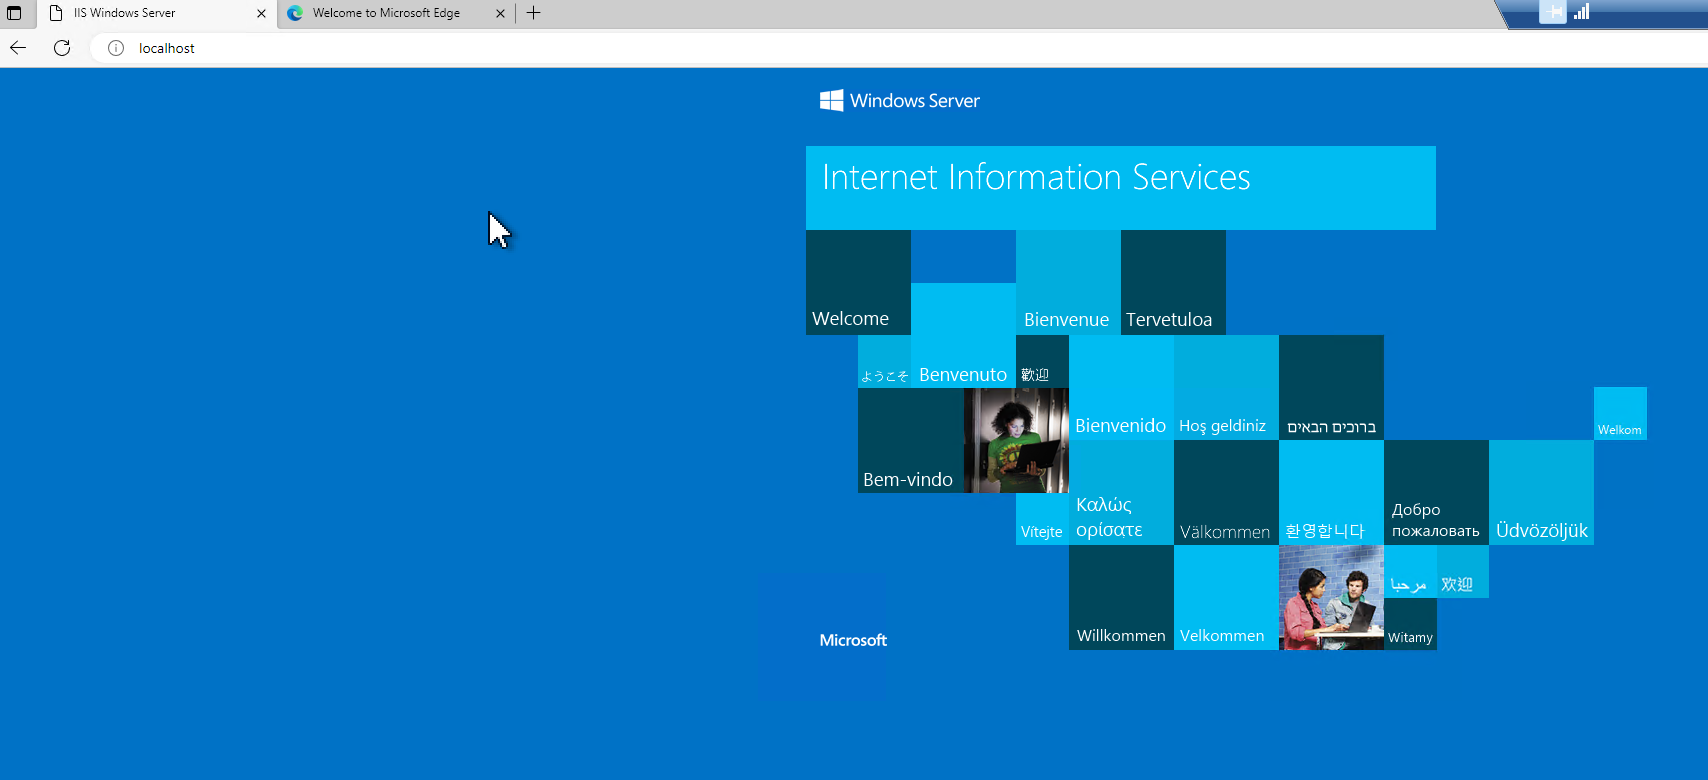
Prepare Windows Firewall on IIS
In order to be able to access this site from external I created inbound Windows Firewall Rules to allow Ports 80 and 443: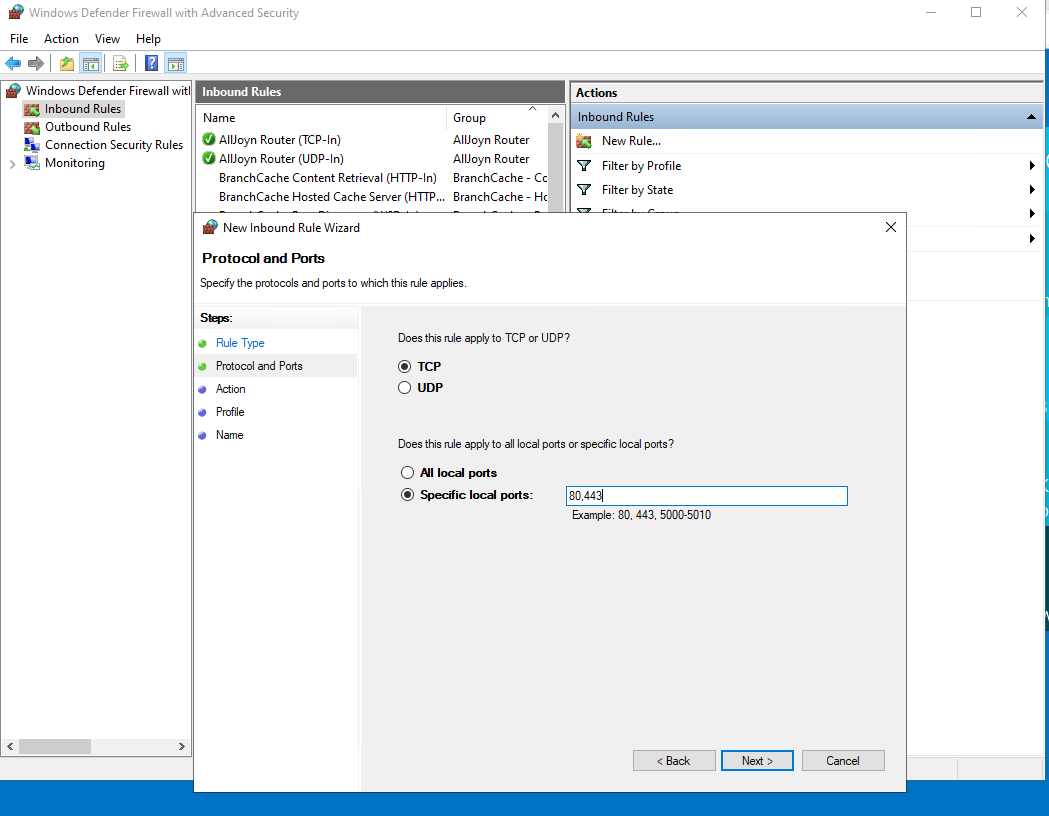
Prepare NSG Rules
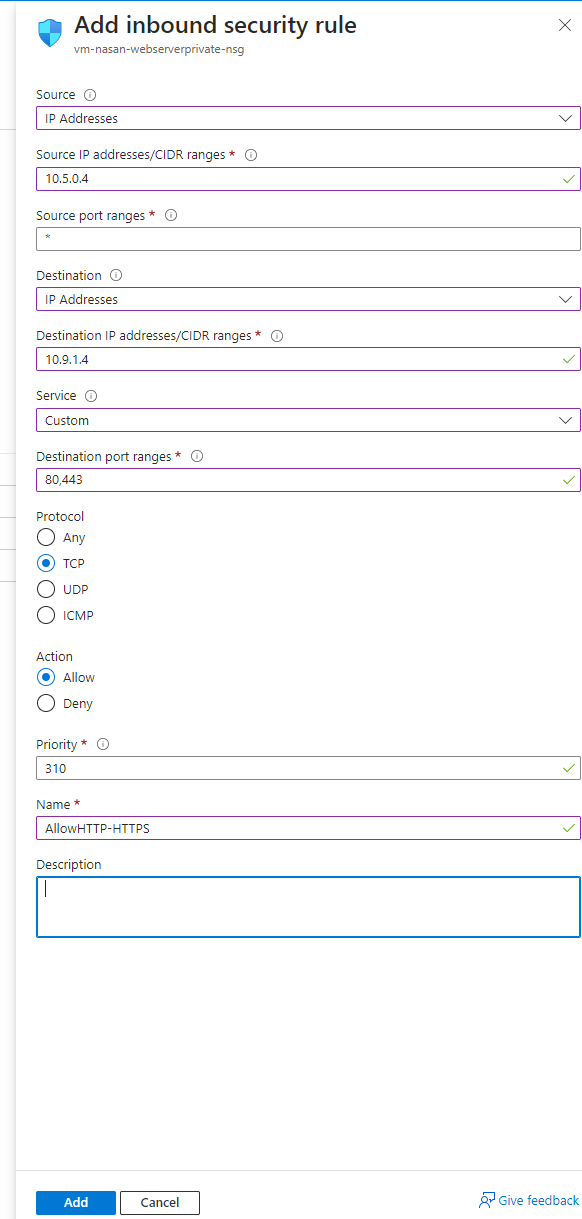
And I created as well a rule on a NSG which is assigned to the Web Server to allow port 80 and 443 from the App Proxy VM:
2. Configure per app Access
Note: There are two Options to configure Access to resources:
- per App Access
- Quick Access
Further information here
In this first example I tried the per App Access.
To configure that I created a new application: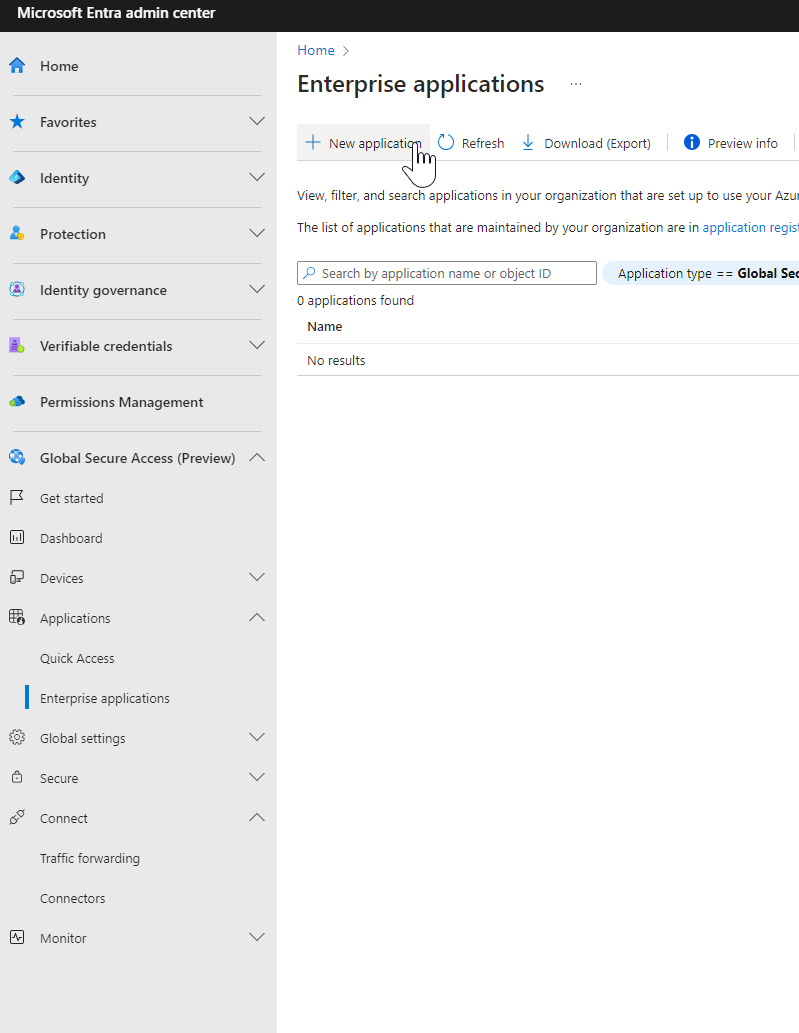
and added a application segment which includes the IP of the Web Server VM and the necessary ports: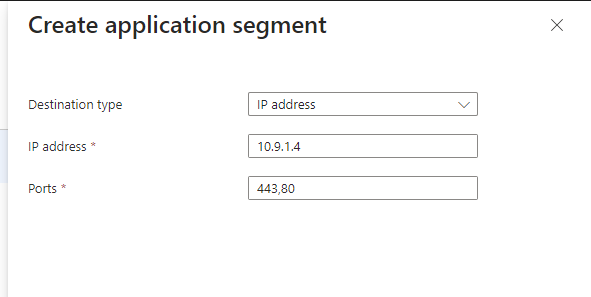
and now I need to configure which users or groups can access this application. For now I just added myself:
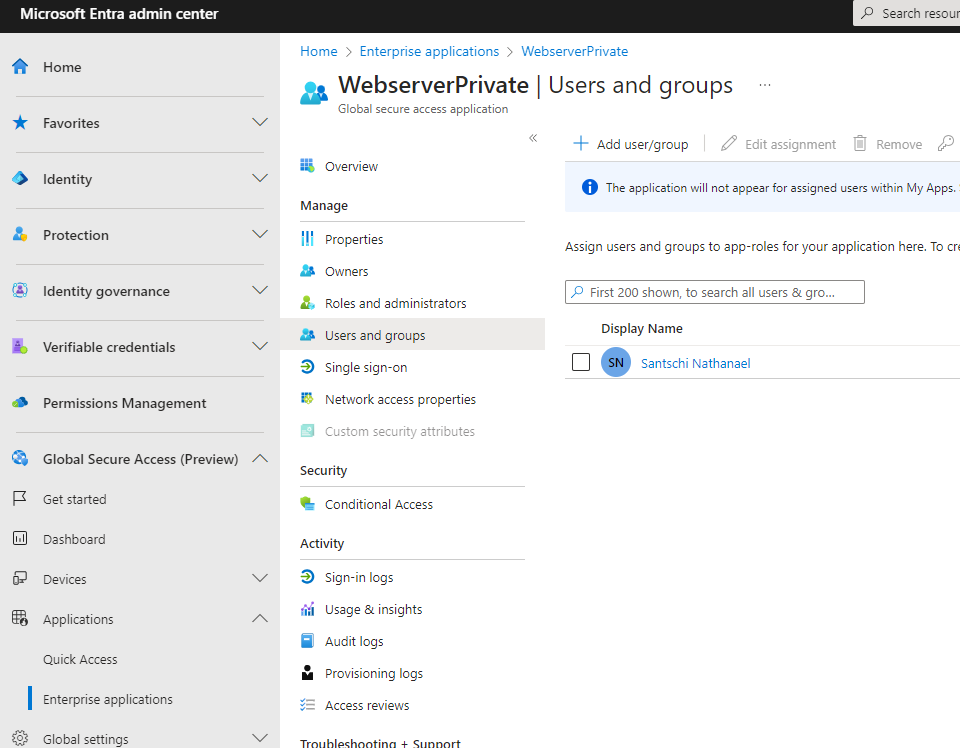
3. Enable Private Access traffic forwarding profile
Enable the traffic forwarding profile for Private Access: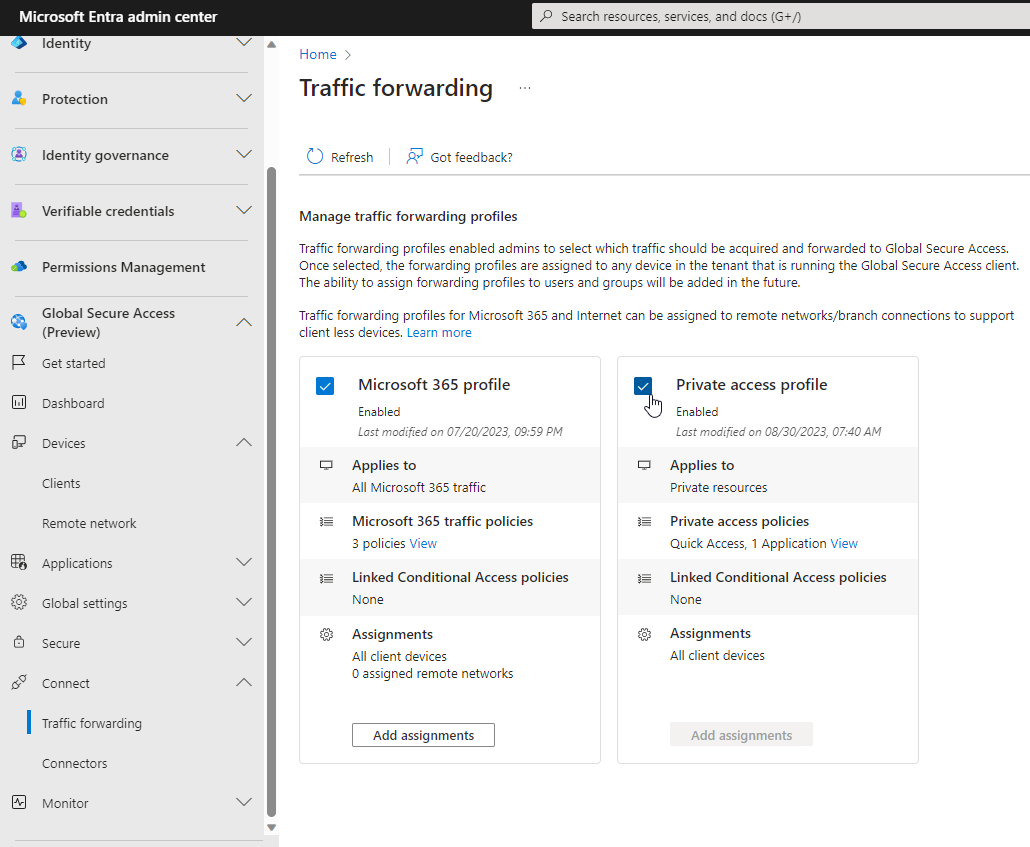
and now I’m able to link Conditional Access Policies to my application:
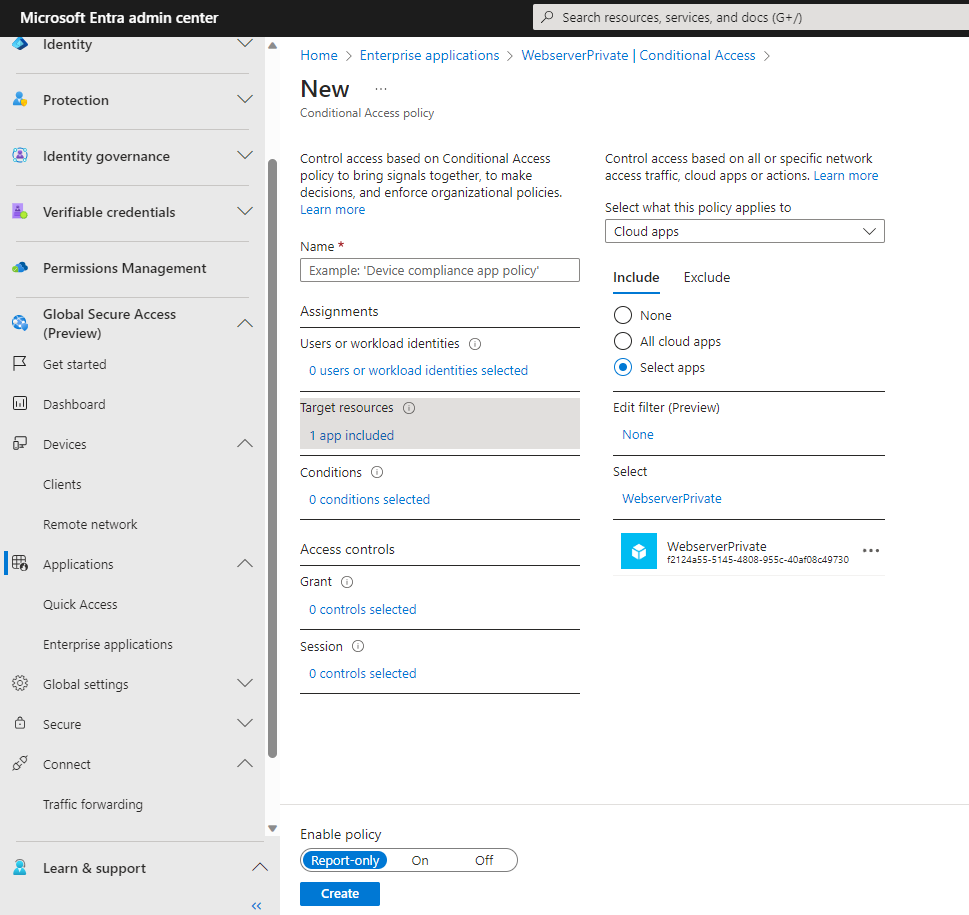
4. Install Global Secure Access Client
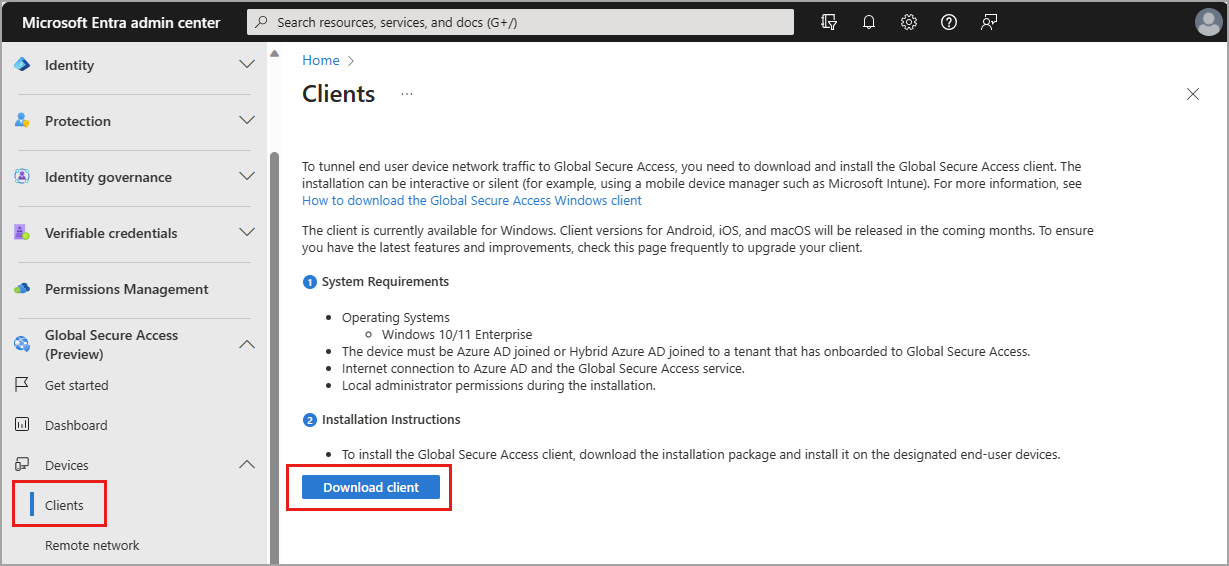
And now as a last step the installation of the Global Secure Access Client is necessary which is pretty straightforward:
The Global Secure Access Client for Windows - Installation
Test Access to Website
Now my Global Secure Access Client is running an I can test to access my default IIS Website: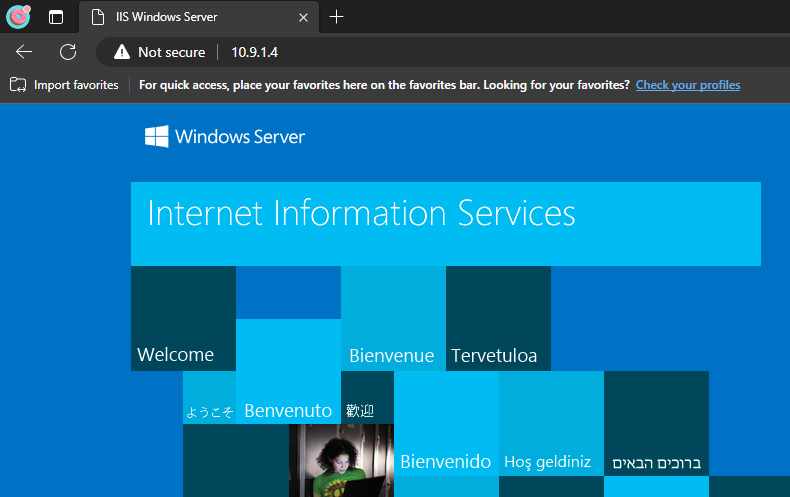
wohoo it’s working.
Prepare Spoke Vnet 2 and Windows Server with a File Share / RDP
Here I repeated the following steps for a second test:
- created a second Windows Server as Azure VM
- Created a second Spoke VNET
- VNET peering between Spoke 2 VNET and Hub VNET
- Inbound Windows Firewall Rules for 445 (SMB) and 3389 (RDP)
- Inbound NSG Rules from AppProxy VM to Fileserver VM
Configure Quick Access
This time instead of configuring a per app access (which didn’t made until now much sense because I had just one app) I created a Quick Access: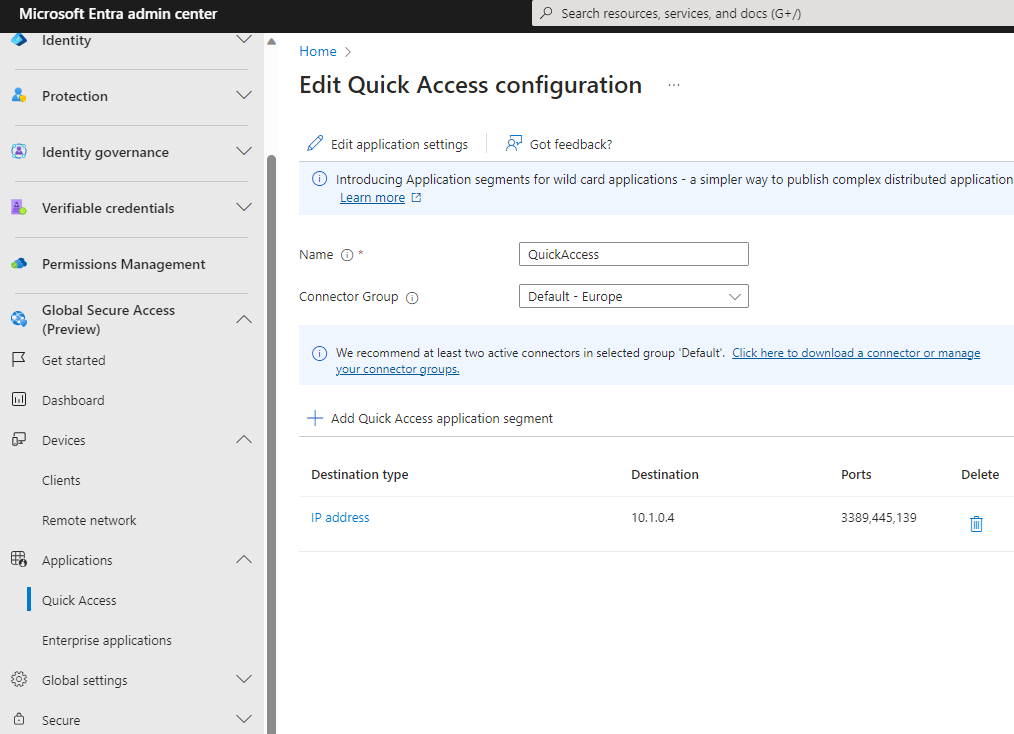
Also for the Quick Access it is necessary to add users and groups should be able to use it: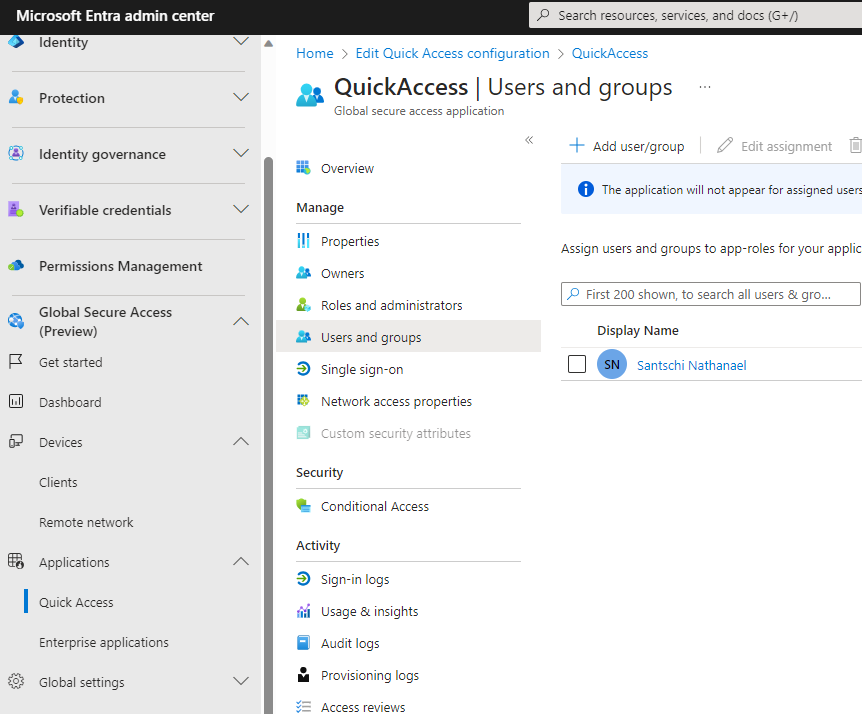
Now I can already test Quick Access because:
- Traffic forwarding profile is enabled -> I could only create an additional Conditional Access Policy for Quick Access
- Global Secure Access Client is installed
Test Access via RDP and SMB
I tested the RDP connection to the private IP of the VM:

The login window appeared, which is a good sign, and I was able to successfully log in.
After logging in, I created a test share and verified access from my endpoint.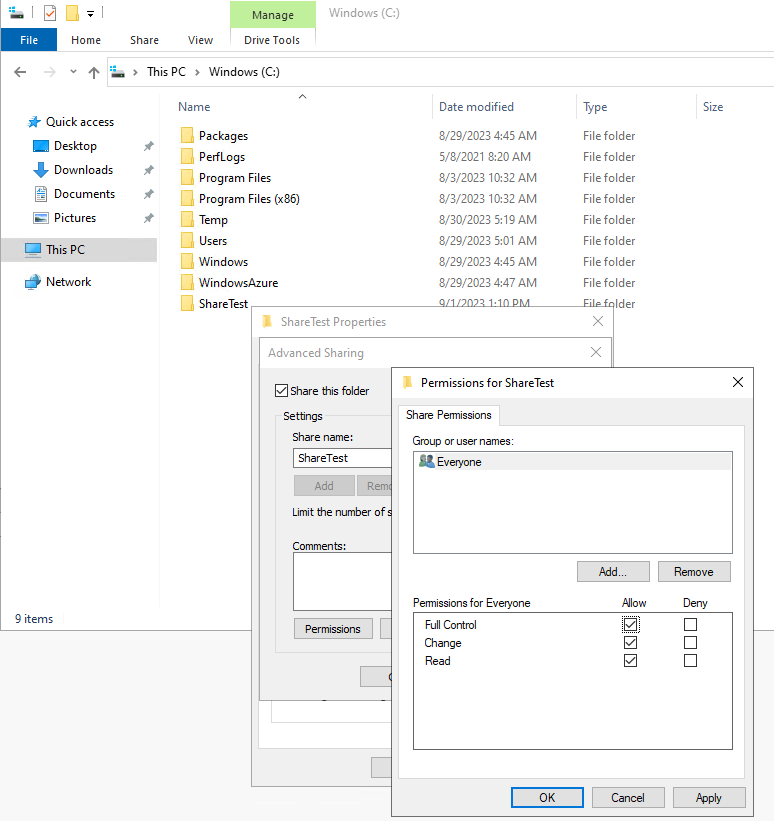
and finally test if I’m able to access this share from my endpoint.
After entering credentials of a user account which has perrmission to the previously created share. I’m able to access it from my local endpoint:
Conclusion
Private Access offers a secure VPN alternative, allowing access to specific resources without the need to connect the entire network. However, it requires running a VM with App Proxy installed, and for high availability, additional Connectors may be needed.

