Windows Sandbox Customization with DSC
Demo Windows Sandbox Customization with Powershell DSC
In this Demo I’m going to show you how you can use the Windows Sandbox and do some customization with Powershell DSC.
Enable Windows Sandbox
First you need to enable the Windows Sandbox. You can do that by enabling the windows feature using the GUI or enable it with Powershell:
Enable-WindowsOptionalFeature -FeatureName "Containers-DisposableClientVM" -Online
Customization Files
You can create a XML Config file like the following example and save it anywhere as .wsb -> which will link automatically to Windows Sandbox :
<Configuration>
    <MappedFolders>
        <MappedFolder>
        <!-- Create a drive mapping that mirrors my Scripts folder -->
            <HostFolder>C:\Git\powershell</HostFolder>
            <SandboxFolder>C:\Git\powershell</SandboxFolder>
            <ReadOnly>false</ReadOnly>
        </MappedFolder>
    </MappedFolders>
    <ClipboardRedirection>true</ClipboardRedirection>
    <MemoryInMB>8192</MemoryInMB>
    <LogonCommand>
     <Command>C:\Git\powershell\WindowsSandbox\Demo\setup.cmd</Command>
    </LogonCommand>
</Configuration>
In the XML file above I configure which folder I would like to get mapped into the Sandbox + enable ClipboardRedirection, set the Memory in the Sandbox to 8GB RAM and define the first setup command which will start further PowershellScripts.
Setup Command
It seems to be the easiest to work with a batch cmd file. Set the Powershell Execution Policy to RemoteSigned and run your main Powershell Config Script (Includes the actual configuration)
REM setup.cmd
REM This code runs in the context of the Windows Sandbox
REM set execution policy first so that a setup script can be run
powershell.exe -command "&{Set-ExecutionPolicy RemoteSigned -force}"


REM Now run the true configuration script
powershell.exe -file C:\Git\powershell\WindowsSandbox\Demo\config.ps1
config script
In the config script we first start logging everything with Start-Transcript. Then we run the PreDSCInstall script and after that we run start-DSCConfiguration which will apply our DSC configuration. As a second last step we send a notification that the script finished and in the end stop-transcript (stopp logging)
So before you can run that you need to prepare the other scripts.
Start-Transcript -Path $(Join-Path $env:TEMP "SandboxSetup.log")

& powershell -File "C:\Git\powershell\WindowsSandbox\Demo\PreDSCInstall.ps1"

Start-DscConfiguration -Path 'C:\Git\powershell\WindowsSandbox\Demo\packageDemoChoco' -Wait -Verbose -Force

& powershell -File "C:\Git\powershell\WindowsSandbox\Demo\sandbox-toast.ps1"

Stop-Transcript
PreDSCInstall script
Here we install the Modules and set the properties which are necessary to run DSC successfully in the Sandbox.
# Set Network Profile to Private (With set to Public DSC won't run)
$NetworkProfile = Get-NetConnectionProfile
Set-NetConnectionProfile -Name $NetworkProfile.Name -NetworkCategory Private

# Allow Powershell Remote Commands (necessary for DSC)
Set-WSManQuickConfig -Force

# necessary that we can Install cChoco Module
Install-PackageProvider -Name NuGet -MinimumVersion 2.8.5.201 -Force

# now install the cChoco Module
Install-Module cChoco -force

# Used for a notification at the end of the script
Install-Module -Name BurntToast -force
DSC Configuration
Prepare your actual DSC Configuration in a .ps1 file. As soon you finished the config you need to compile it. You can simply run the script just make sure that you call the configuration with the configuration name at the end. In this example packageDemoChoco. This will create a .mof file at the location where you run the script
In this configuration I’m using chocolatey to install Vscode + Azcopy and make as well sure that a Demo.txt file is created on C:\temp
Configuration packageDemoChoco {

 Import-DscResource -ModuleName cChoco

 Node 'localhost' {
     cChocoinstaller Install {
         InstallDir = "C:\Choco"
         }

     cChocoPackageInstaller InstallVscode {
         Name = 'vscode'
         DependsOn = '[cChocoInstaller]Install'
         }

     cChocoPackageInstaller InstallAzCopy {
         Name = 'azcopy'
         DependsOn = '[cChocoInstaller]Install'
         }

     File Demo {
         DestinationPath = "C:\Temp\Demo.txt"
         Ensure = "Present"
         Contents   = "This is a Demo Text File"
     }

 }

 }

PackageDemoChoco
sandbox-toast Script
This script will simply send a notification as soon the Sandbox Configuration is complete. It is using the Burnttoast Module which was installed earlier in the PreDSCInstall Script.
$params = @{
 Text = "Windows Sandbox configuration is complete."
 Header = $(New-BTHeader -Id 1 -Title "Nasa's Sandbox")
}

New-BurntToastNotification @params
Starting the Sandbox
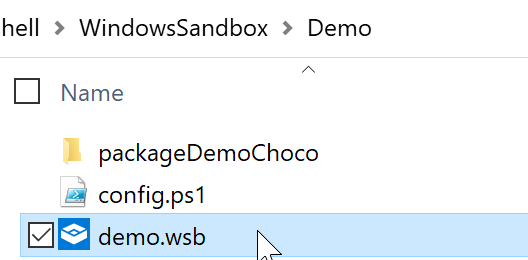
All what you now need to do is double click your .wsb file.
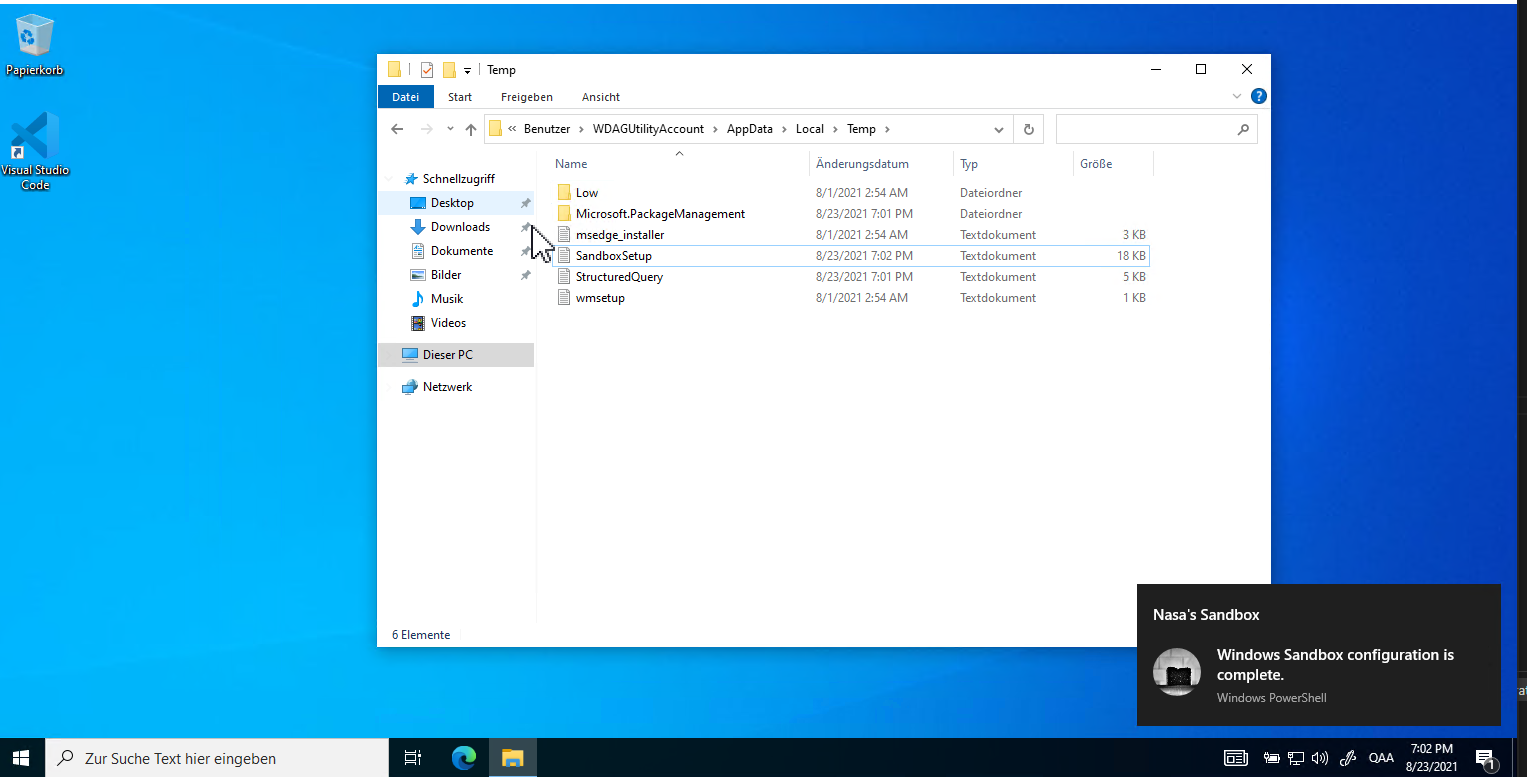
This will start the sandbox, after a few minutes you will receive the notification that everything is complete. To verify the logs you can go in the %temp% location where you can find the log file which was defined earlier.
